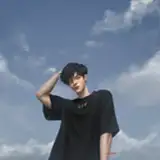
Quite recently, everyone on the Internet began to go crazy for a new challenge -#Jackochellenge. Wherever you look, you're almost bound to find a variety of characters in this unusual pose! And it's fun! 😃
Of course, I could not pass by, although I probably started art later than everyone else (as always).
1.To begin with, I collected references (including the original pose at the top left) and drew a rough sketch.

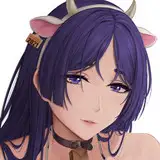
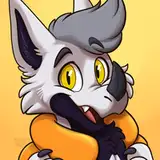
2. I did the line according to the sketch, but when almost everything was ready, I realized that Nick's head was disproportionately large! 😱
Although, it seems that everything was right from the point of view of perspective, but I decided to fix it (it was painfully long to fix an almost ready line), but I managed! Result:

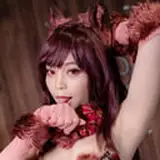
3. Then I painted flat color, but even here it was not without a small fail. A significant part of the time I drew in an unslept state (and it will be like this for another month, and then-freedom!) and I finished the art at 4 in the morning! I looked for a long time and thought what was wrong there, but decided that everything was right.
And only after the publication of art in the comments, I was prompted that Jack did not have stripes on his face! I almost physically felt the facepalm! 😅
Oh, of course, I quickly corrected everything, and the version with a flat color and with all the corrections looks like this.

4. At the same time as creating sketches, I made a simple 3D model for the environment and light. Everything seems to be simple, but it looks great from the right angle!
Our heroes are under the tree, where the arrow is :3

5. With the help of a hint on the colors and shadows obtained from 3DS-Max from the render, I drew a layer to add volume.

6. Additionally, I made a layer that I call "ambient occlusion". This is not quite it, but this layer adds depth and separates some parts from others well.

7. Combining a flat color and both shadow layers (in a rather tricky way, as you can see in the PSD source), inserting everything into the rendered background, it turns out such a beauty! 😍

8. I add a lineart on top of the previous result. On top of the line, I apply a very blurred and darkened layer from the previous stage, which in some places I tinted manually.

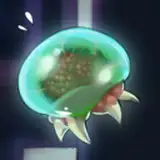
9. Some white liquids)) 💦 Quite recently, I accidentally saw this reference (this drawing is not mine, I do not know the author, I accidentally stumbled upon this beauty in Instagram). And I wanted to transfer this knowledge to my art.

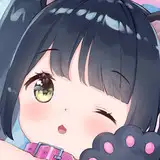
10. It turned out quite well! I also added details to Nick's fluffy tail, as well as highlights on his eyes, nose and some places.

11. In the end, I applied a small color correction, added noise - and everything is ready! 😌

You can see all the variants of the result in high resolution in my previous post:
https://www.patreon.com/posts/jackochallenge-55499193
The PSD-source (for those who are curious to see by layers what complex ways I applied all these shadows and highlights) is available at the link:
https://yadi.sk/d/IwrAGUPsU9X2pw
I hope you were interested! 😉