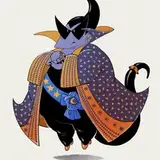
The method of painting the strip hanging from the skirt is also quite easy to do.
First paint the whole thing in gold, then paint the black parts with enamel paint.
Then wipe it off with Finish Master (Rubyhead) dipped in enamel solvent.

The gold and black portions of the obi were easily painted.

After this, just masking the design area and paint the edges in white as shown in the video.
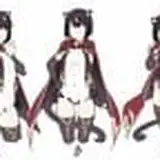
The purple color in the picture is a shadow color. The white part of the skirt and the collar are also shadowed with a hint of purple in the same way.

For white shadow colors, either light blue or lavender (purple) is often used. You can use different colors in different patterns, such as light blue for a fluffy, soft, gentle atmosphere, and purple for a more dignified atmosphere.
Of course, if the colors do not match when actually applied, adjustments may be necessary, such as changing the color or density of the paint, but in most cases, these two colors will do the trick.

Incidentally, the skirt is hardly mentioned in the video, but the white lines at the hem of the skirt are very difficult to paint due to the pleats.
If you pause the video and look closely, you should be able to see quite a few enamel retouch marks. The same goes for metallic parts. The black color is definitely easy to retouch, so don't be afraid to mask it off and paint it.
And the hair, because of its weight, it cannot be held with bamboo skewers or alligator clips, which are commonly used to hold parts in garage kits (the same goes for thighs and body parts).
So this time, we used 3mm aluminum round rods to hold the parts.

Cut it to an appropriate length, and sharpen one side to make it a little sharp like a bamboo skewer, so that it can be easily inserted into a parts storage place (cat's claw trap, etc.).
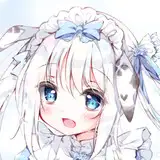
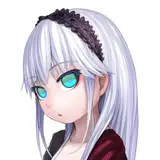
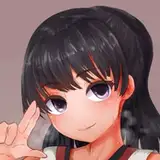
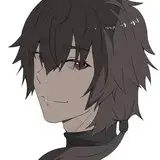
As for the hair color, the captain's hair is totally different depending on the illustration material, but it may be easier to adjust it by referring to the figure sold by Max Factory.
I applied a color surfacer (red mixed with white) that I made for the base, and adjusted it with magenta color + pure clear black on top.


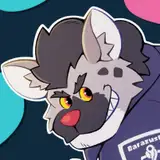
As for the mesh and inner color, the only way to do this is to carefully and patiently mask the mesh and inner color while looking at the materials.

For bangs and other hairs, mesh shapes are expressed by combining thin strips of masking tape with the tips slanted.

It takes time, but it is not too difficult if you do it carefully, so you can work while playing music or videos.
The paint to be used for the painting process. If lacquer is used, it is difficult to correct any masking leaks.
Therefore, I decided to use enamel paint white, which is easy to retouch. The gradation is created because the hiding power of enamel is weak.
It's easy to work with because it's easy to correct to erase the overflowed area. After retouching is finished, the paint film is protected with clear.
One disadvantage of using enamel here is that the enamel layer will peel off when assembled, even if the head parts and neck area are protected with clear coat.
These are the areas indicated by the arrows.

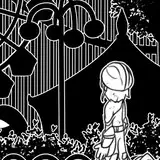
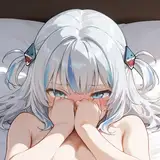
By the way, I didn't explain the surface treatment of the hair. Basically, as shown in the video, the intricate parts are heated with an embossing heater, bent slightly, and then the back and sides are filed...and so on.
The hair is so intricate that some parts can look like this.

After the process is finished, you can warm it up with an embossing heater and put it back.


It can be put back together beautifully. The method of bending by heating is quite convenient, but please be careful not to bend it too much or it may crack and break.