


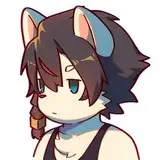
Howdy! It’s me.
I’m going to explain about the time-lapse of “柴子さん(Shibako san)”.
This is a new challenge and if you guys like to read this kind of stuff, I’m willing to do it again.
Although the plan will possibly change, so if there is anything you want to request, please let me know.
So now, let’s get the ball rolling.
My agenda of this drawing is;
1. Rough Sketching, e.g., silhouette, blocking.
2. Masking and Rough Painting, e.g., lighting, cleanup, ambiance.
3. Final Painting, e.g., visual comprehensibility.
4. Finishing touches, e.g., following my gut instinct.
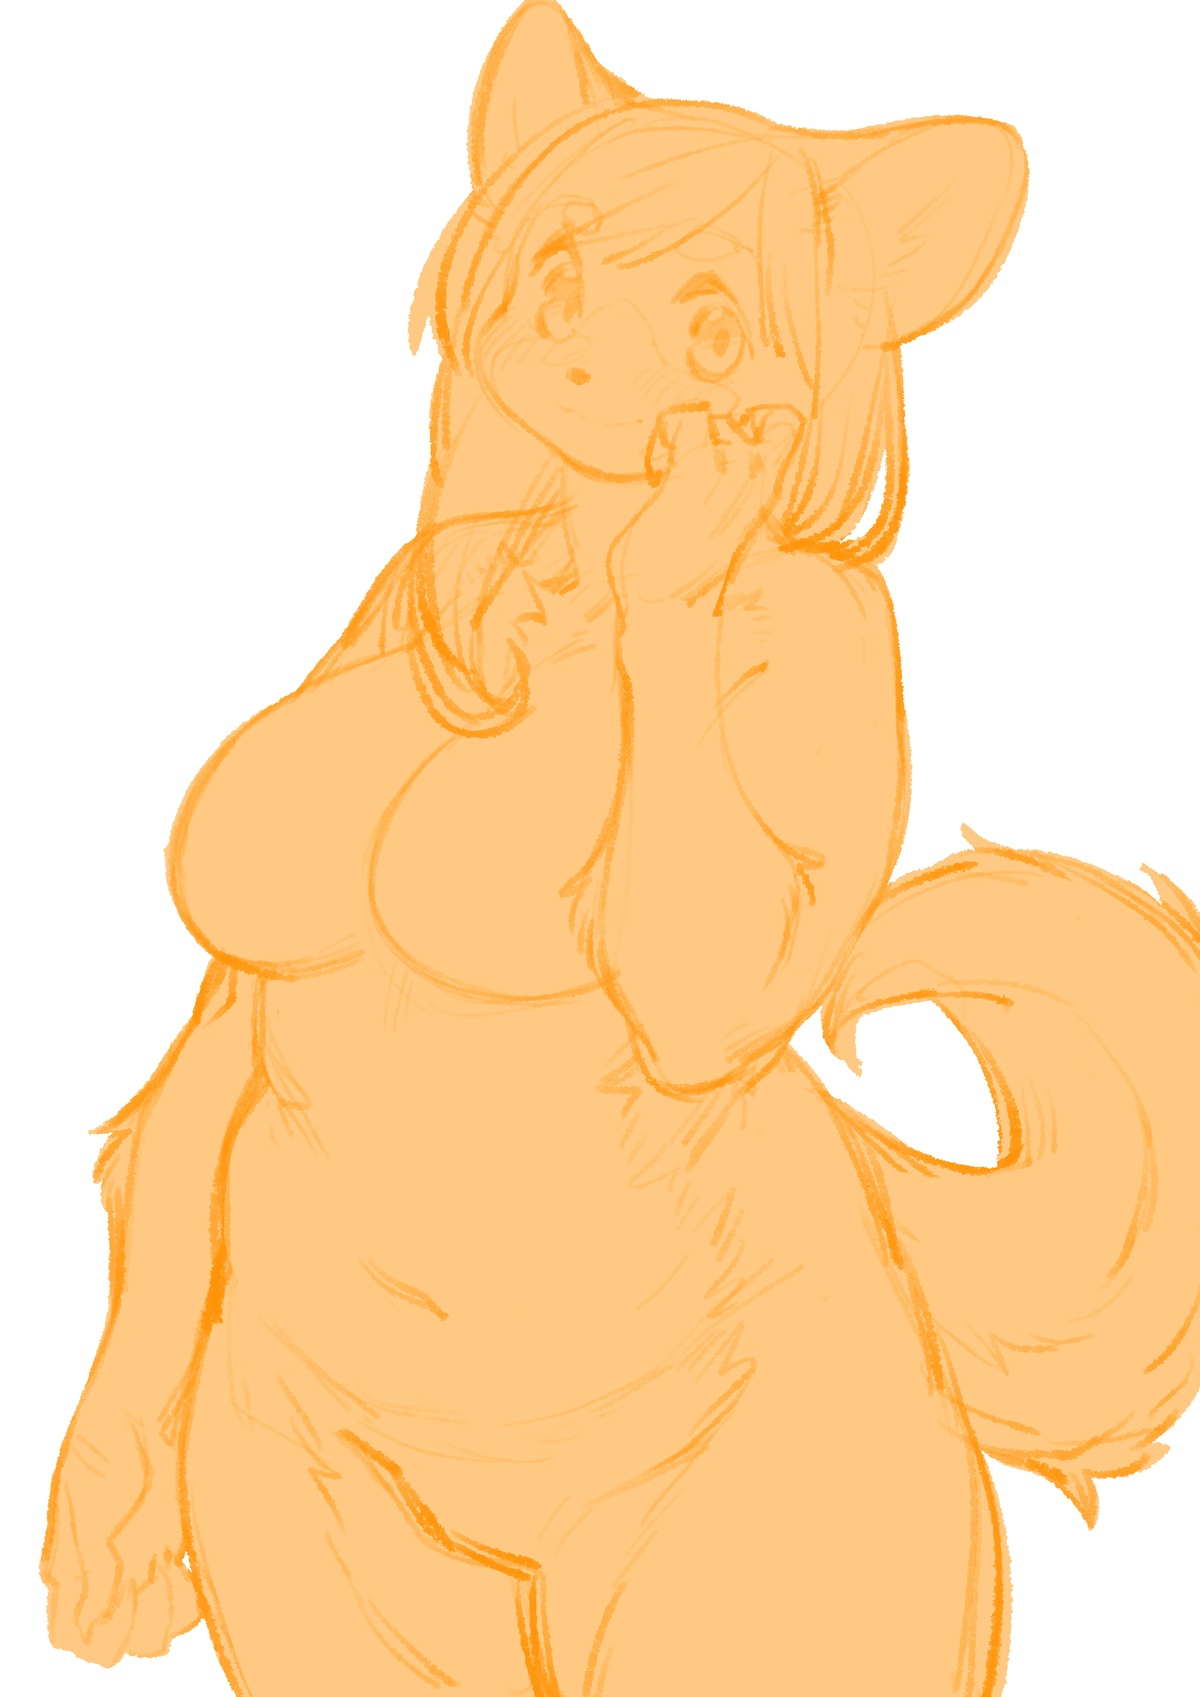
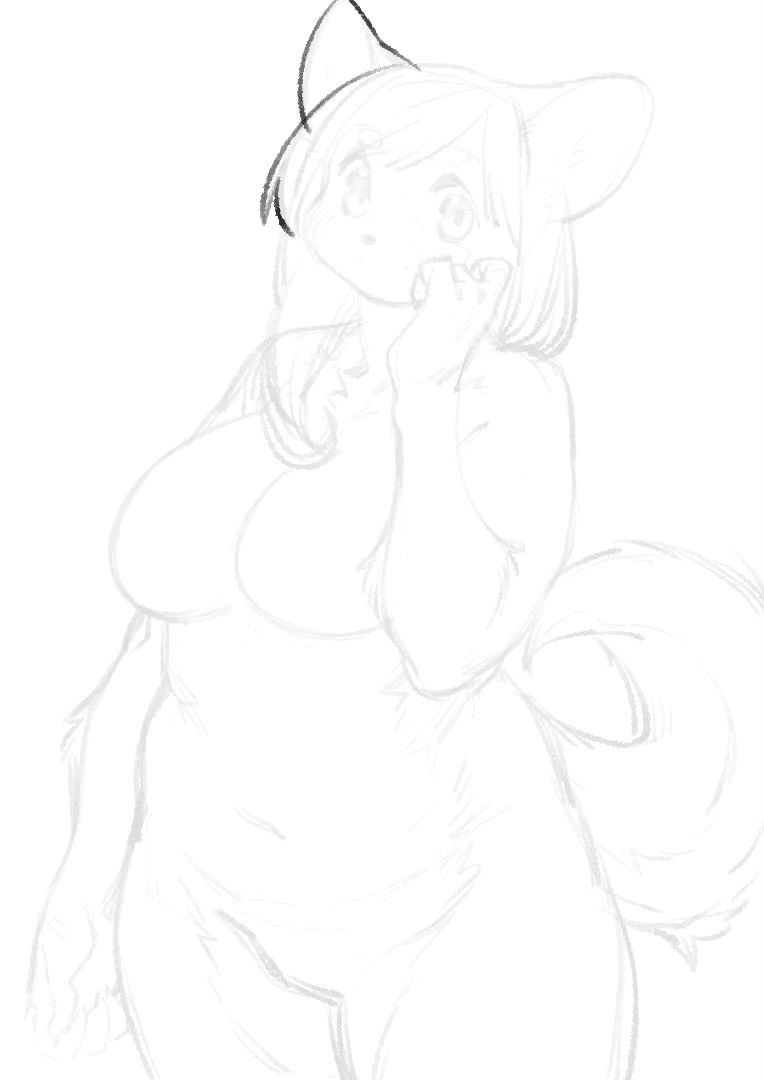
1. Rough Sketching
Needless to say, I start rough sketching first.
Upon doing it, what I keep in mind are;
-To be laid-back (because I just finished a laborious work)
-Not to be so detailed
-Not to think, go with my gut instead
-I want to paint Shiba-Inu’s yellowish color with a full of maternal sense.
As you can see, it’s not difficult. I just wanted to draw it quickly without any difficulties.
Things I pay attention are;
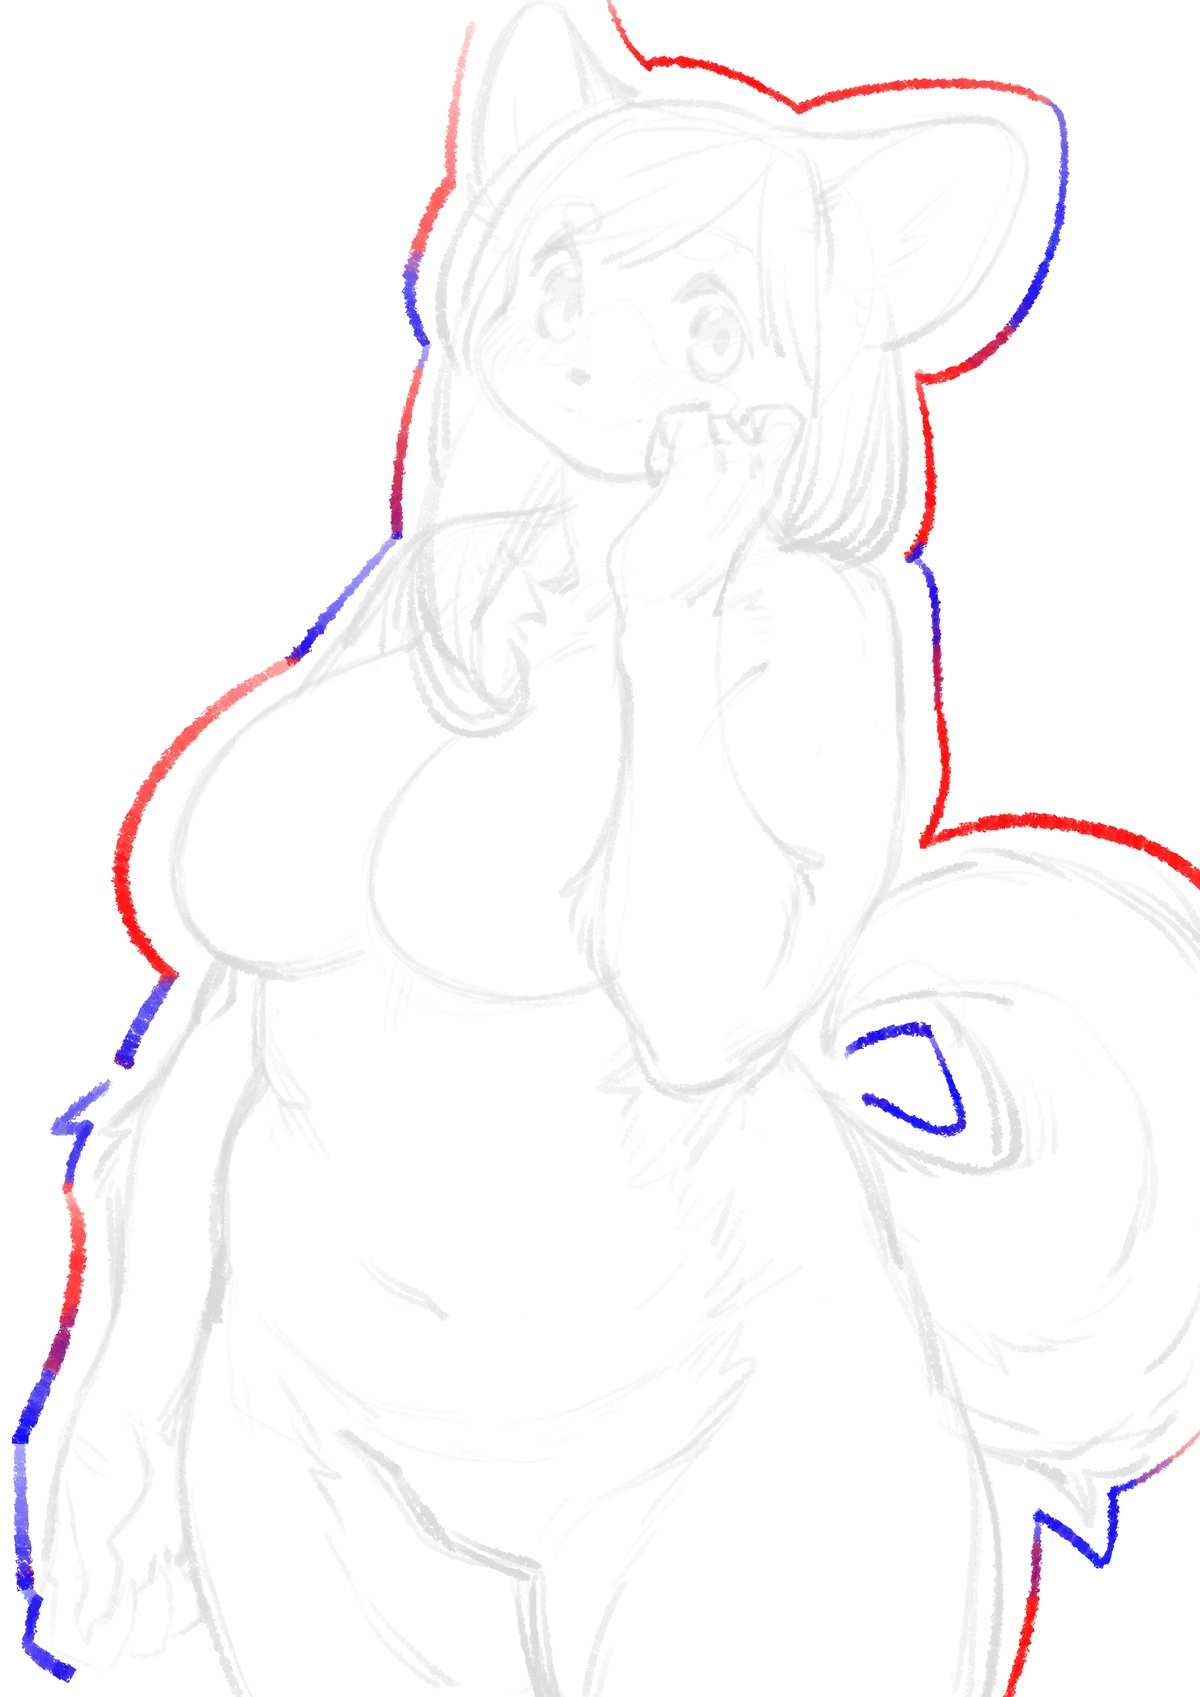
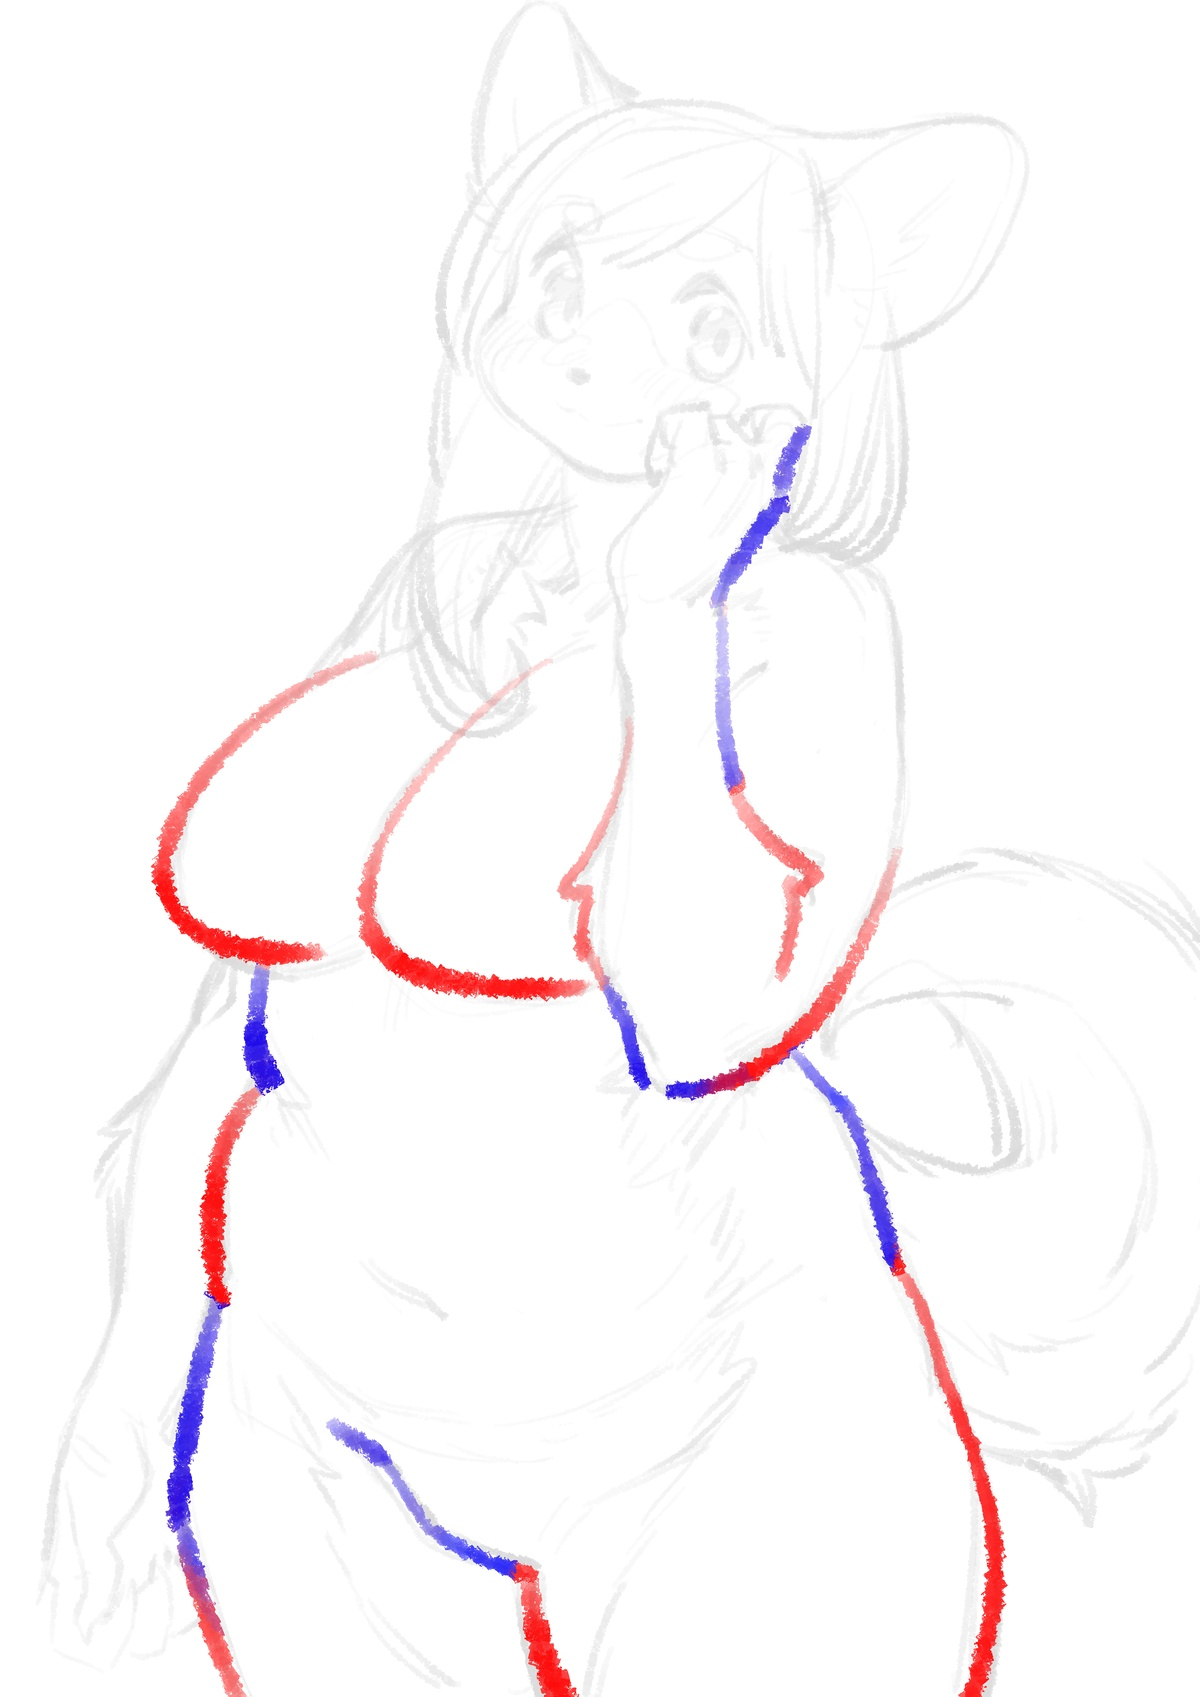
・Contrast and silhouette
What is a beautiful line and shape?
If one succeeds in defining the beauty of those, one’s works can transmit what a creator wanted to convey to the audience.
Red lines indicate what I want to convey softness. Blue lines, by contrast, indicate stiffness, as if I draw a line linearly.
Some people prefer images drawn by only soft lines, but I think when the aforementioned lines are put together, a contrast becomes apparent.
I make contrasts not only in silhouette lines, but I also do so inside of it.
As I mentioned, I draw linearly when I want to convey a stiffness, examples of which are knees, elbows which are close to bones and thighs which are formed by huge muscles, etc.
On the other hand, I draw roundly when I want to convey a softness.
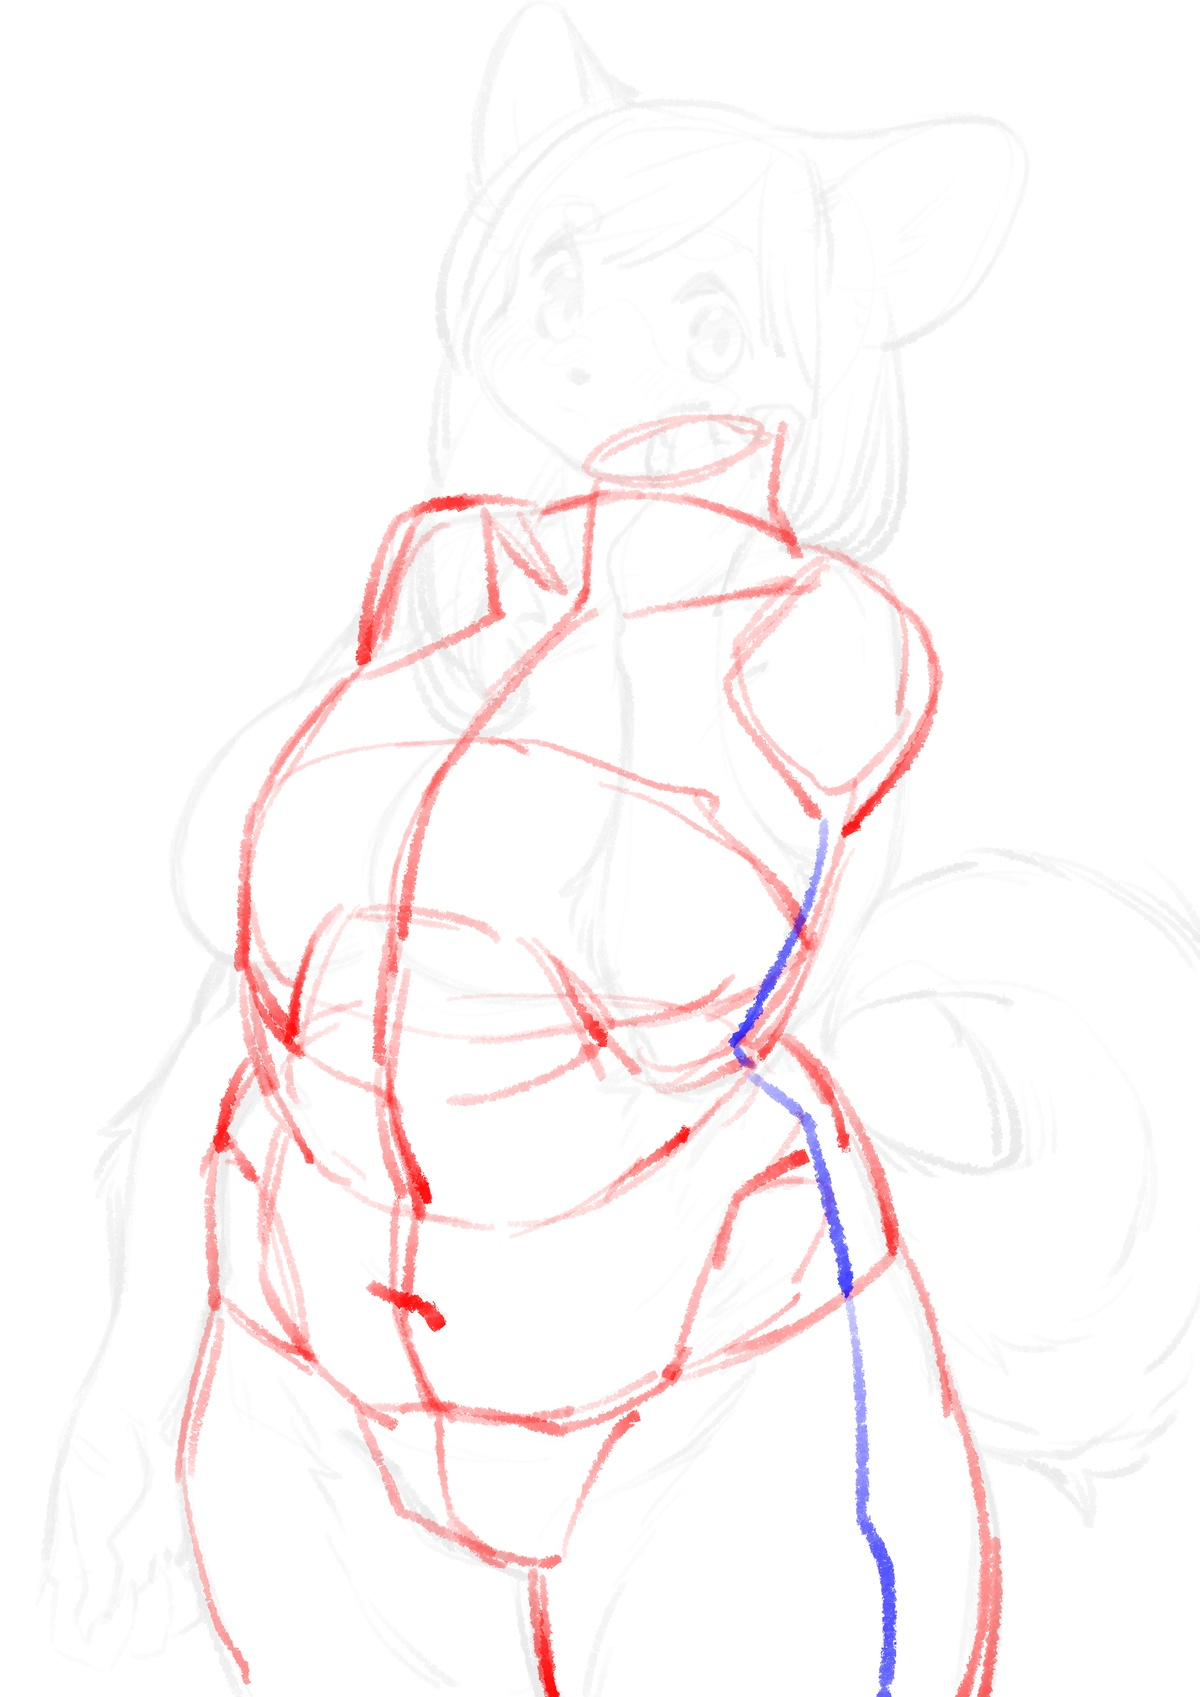
・Blocking
I’m not an anatomist, so I lie to draw partially, and yet I pay attention to overlaps as if the body is made by a couple of big blocks as you can see below. To be honest, a human body can move awkwardly, which means that I still have something to learn.
If one draws a centerline and sideline on the blocks as guidelines, one would hardly break the balance of the body.
It would be useful to learn anatomy if you buy 3D CG data of a human body, for example, Anatomy 360.
2. Masking and Rough Painting
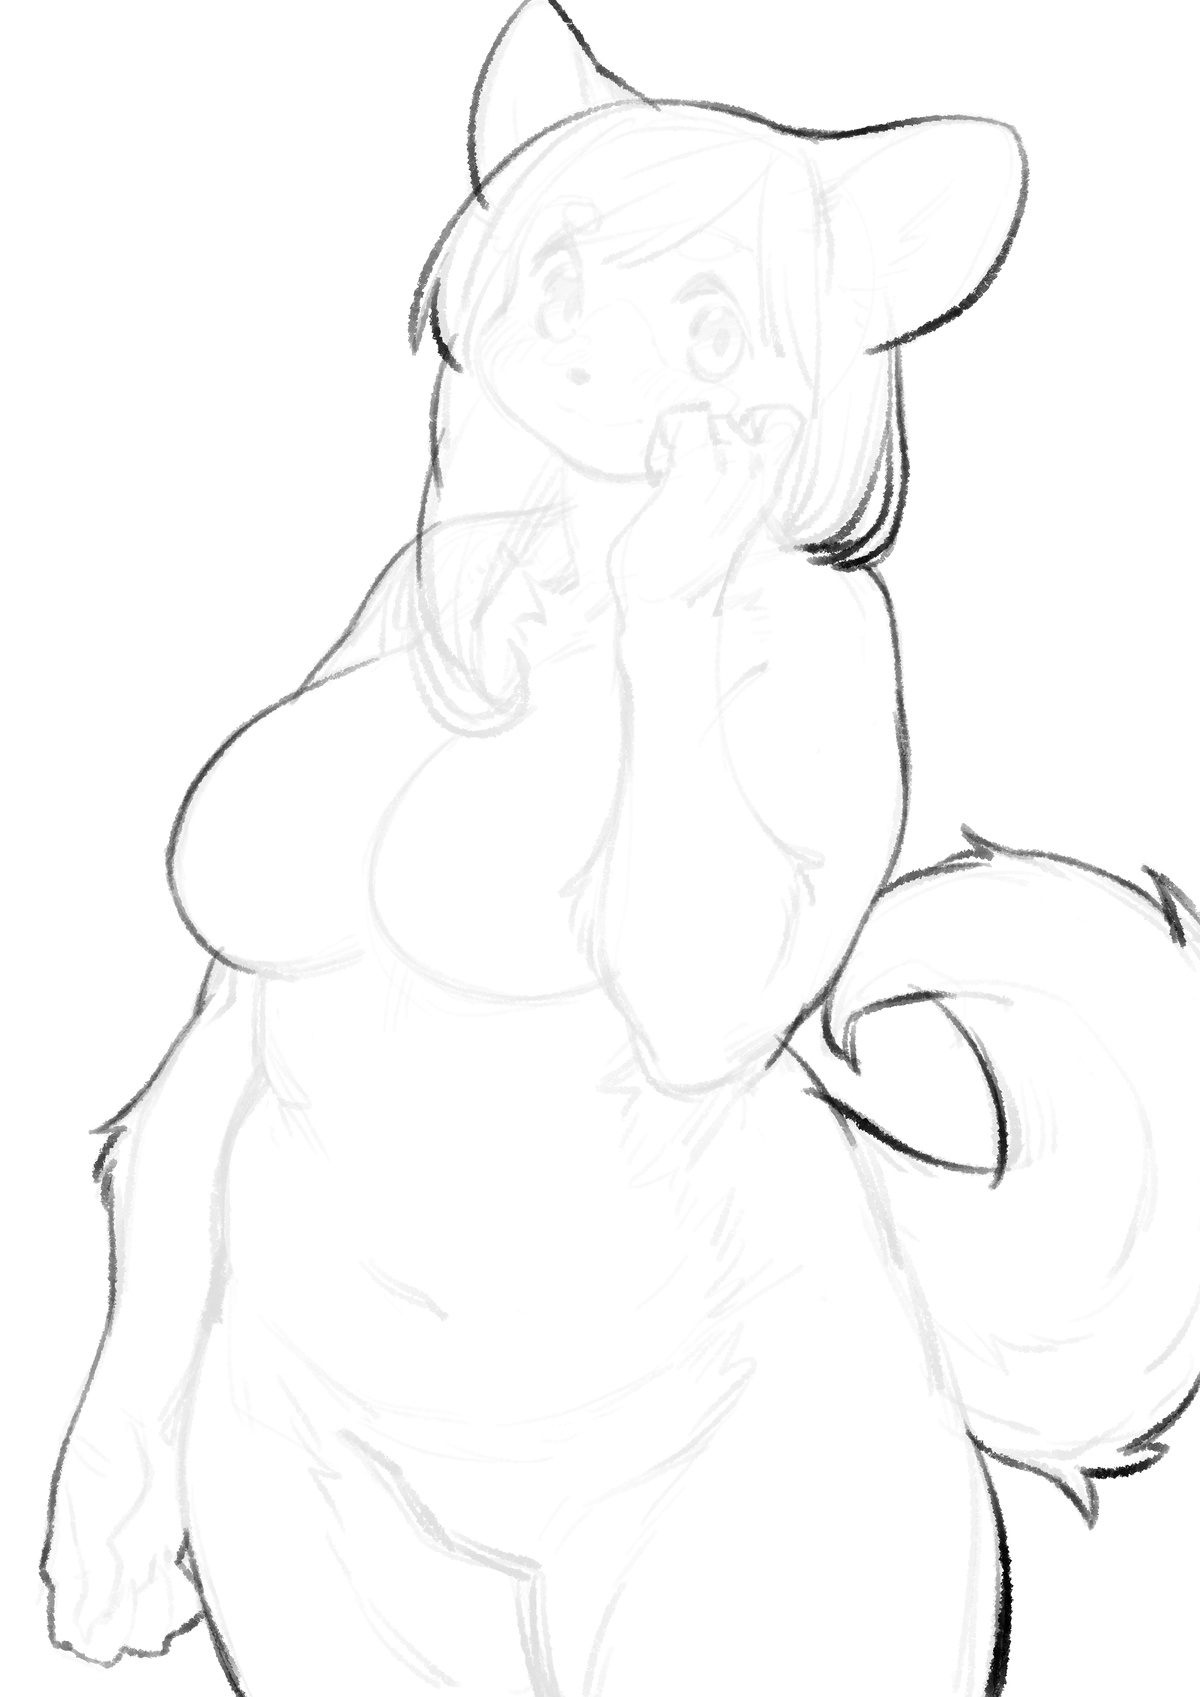
I clean up the rough sketch. Then, I create a mask of the character. Upon doing so, I try not to ruin the contrast of silhouettes I made.
What is more, I carefully draw lines as long as I can and pay attention not to make any gaps between lines.
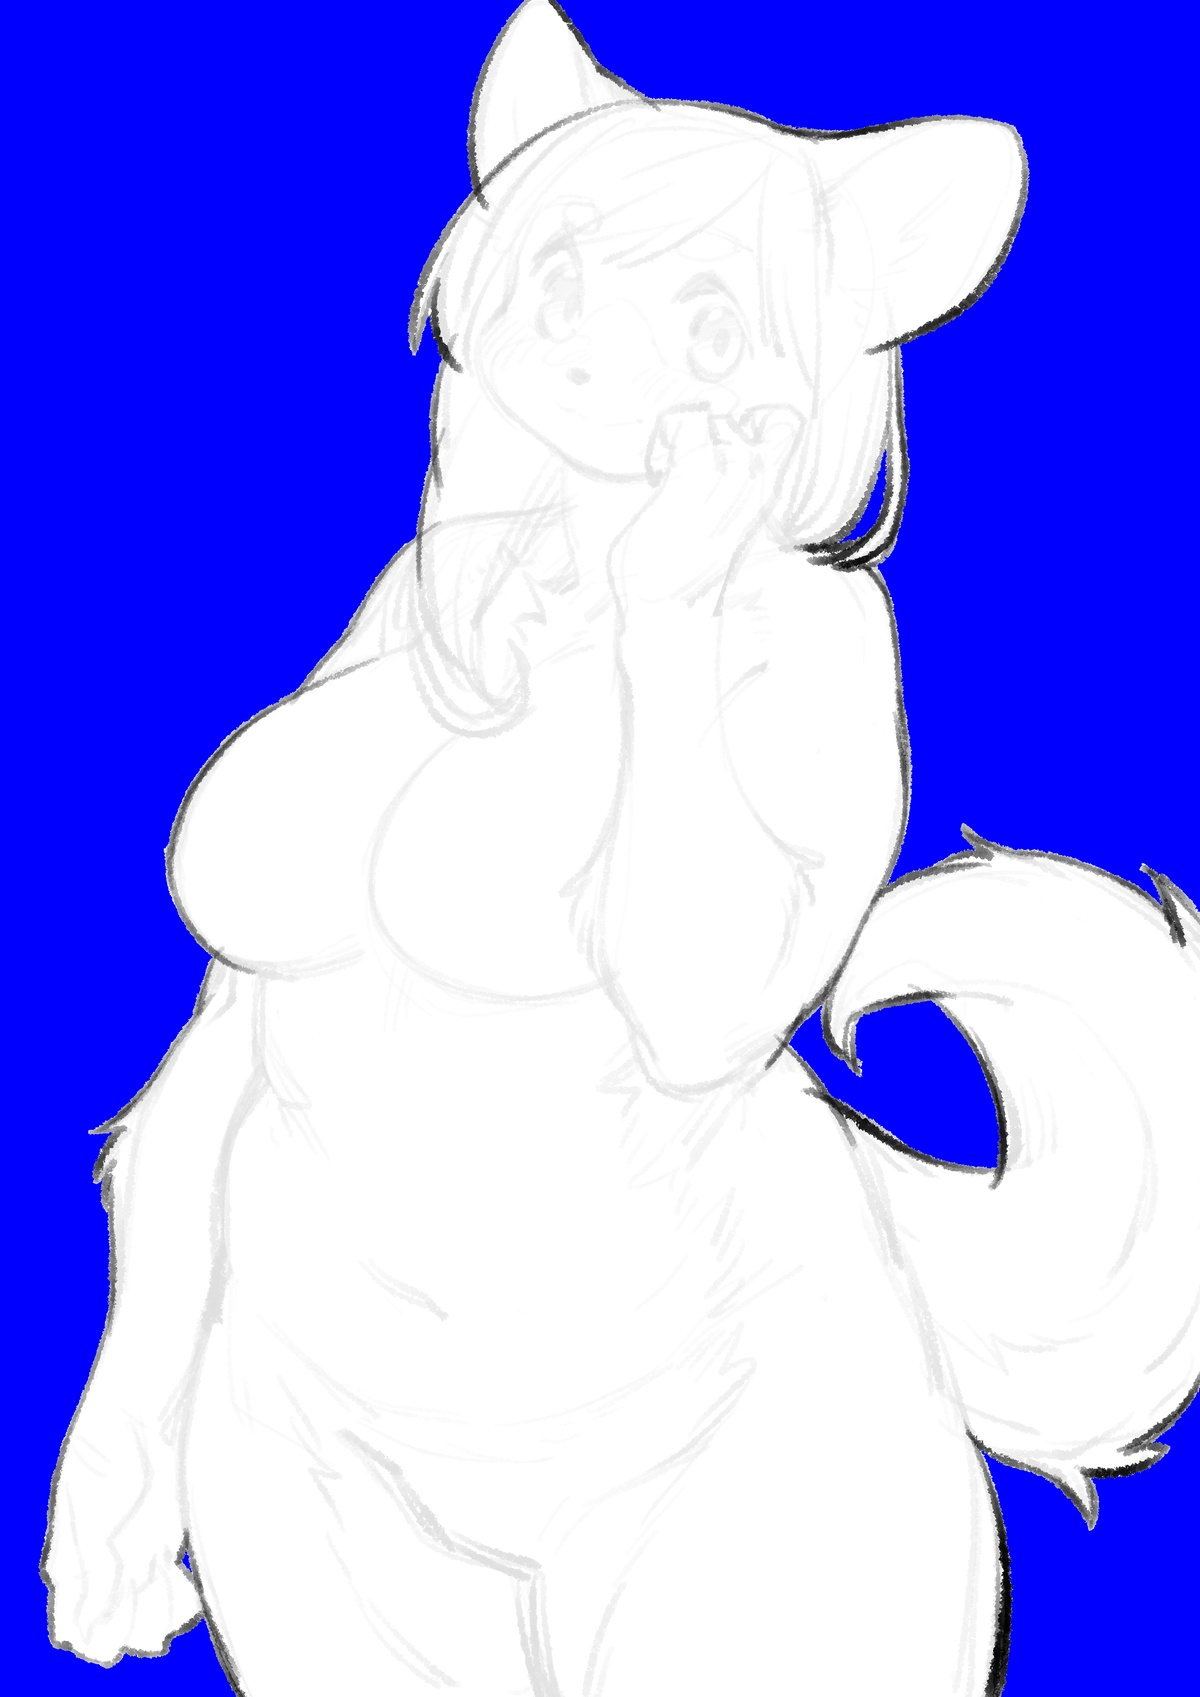
Afterward, I select the outside of the character.
Then, here is a mask.
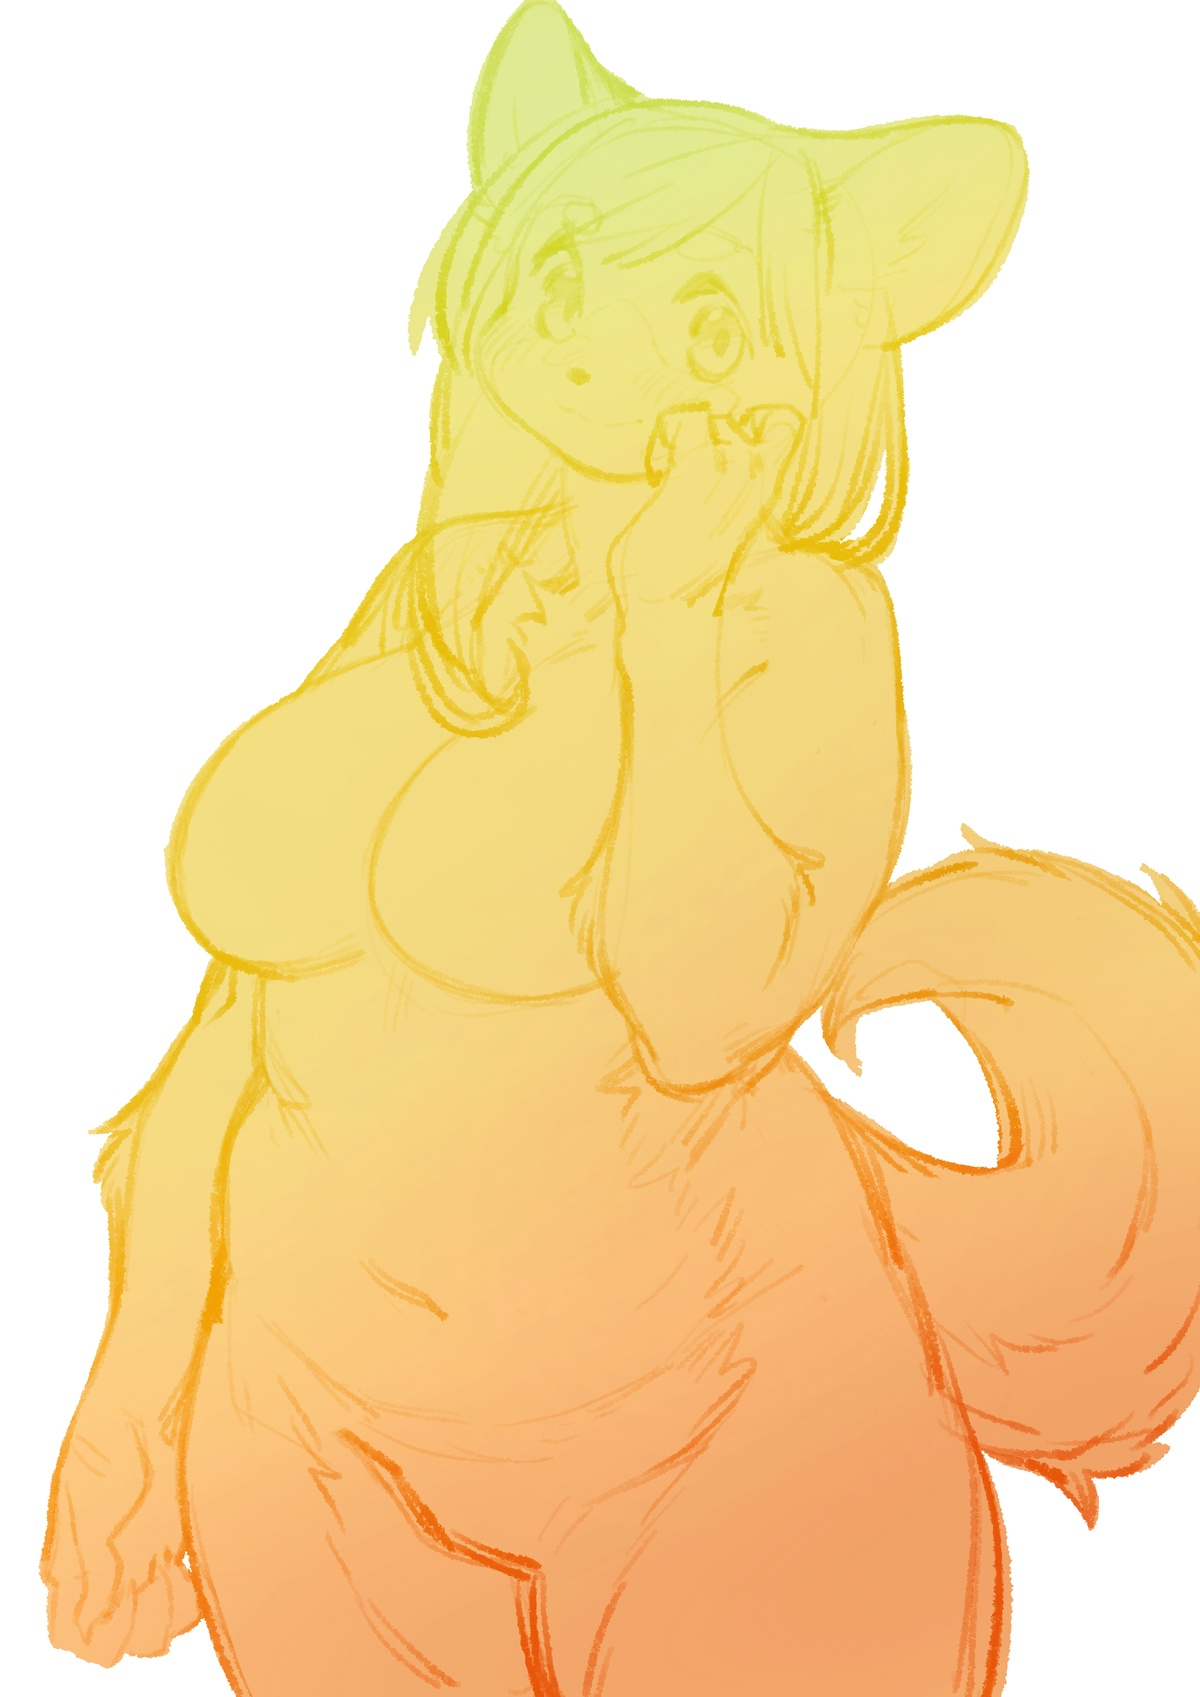
Next, I start a rough painting.
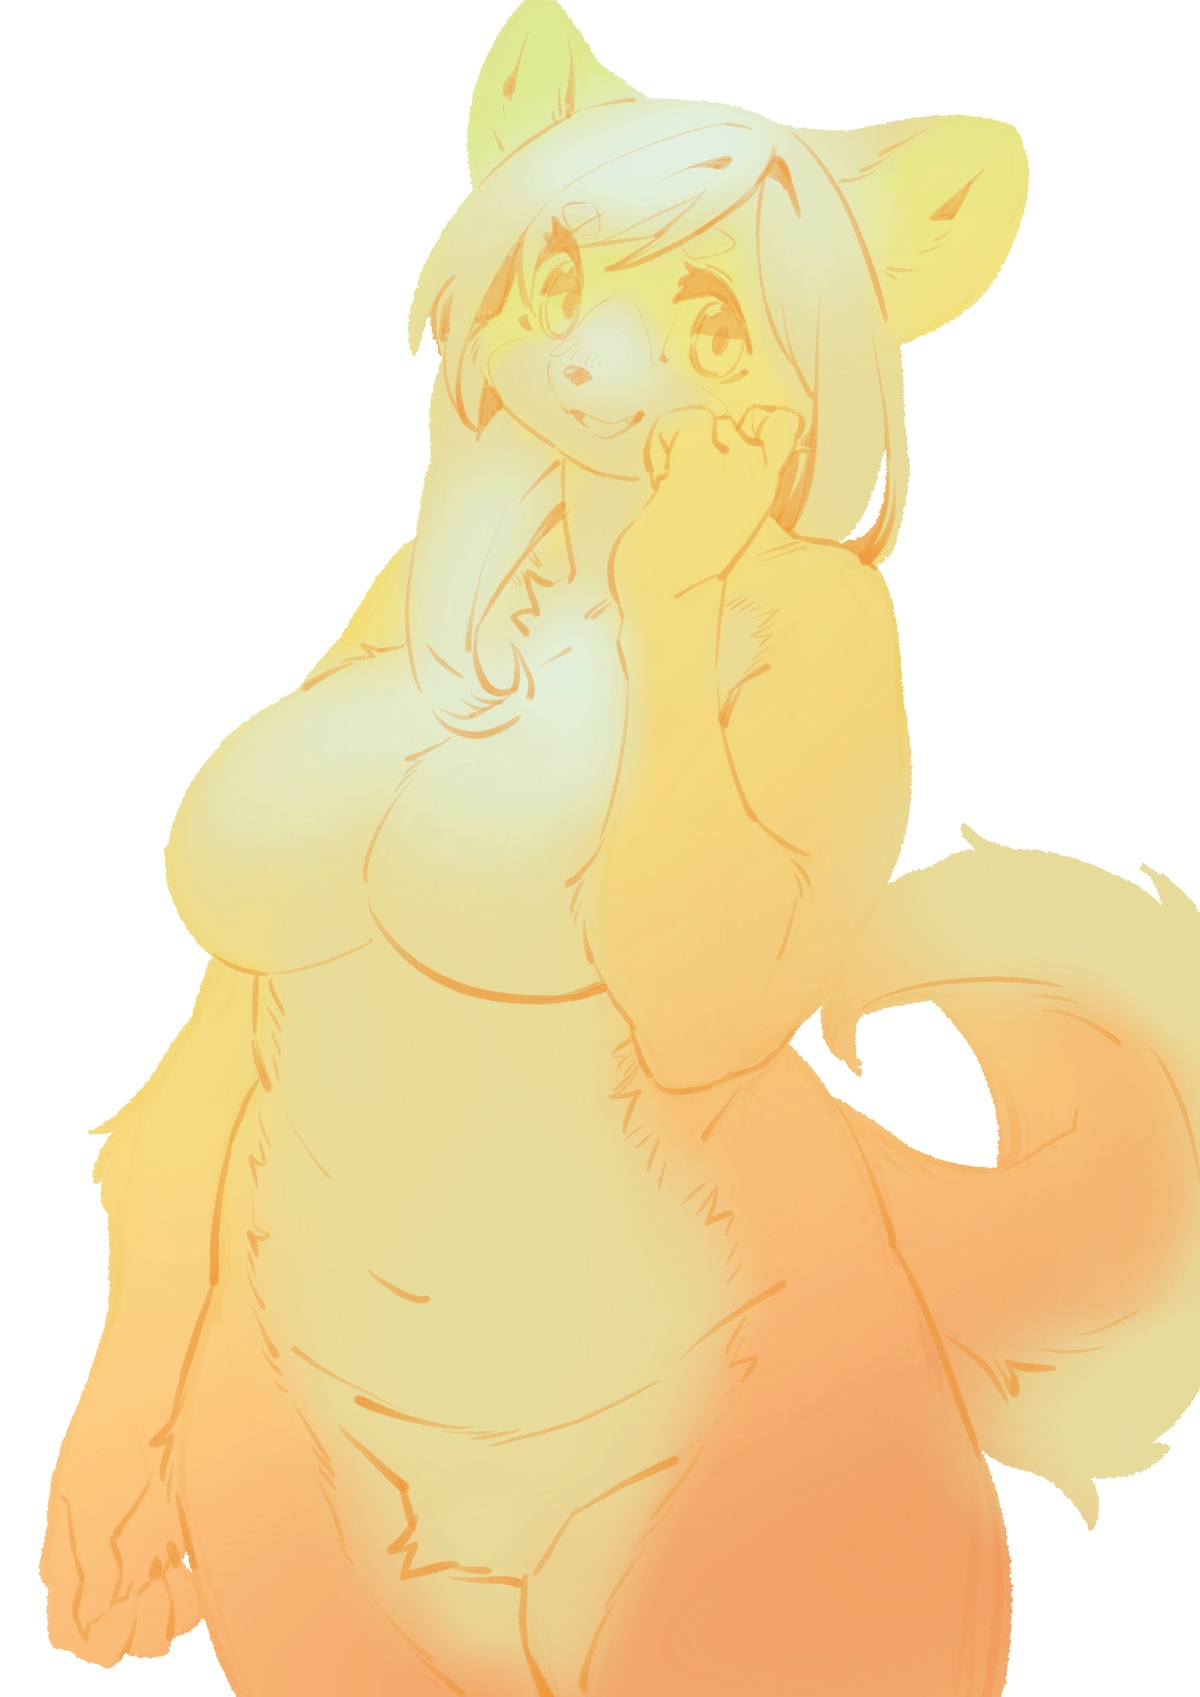
・Deciding a light source.
I create a gradation in order to decide where to put a light source and widen the range of colors.
In the beginning, I thought it would be a nice position to put a light at the upper left, but eventually, I changed my mind and put it at the upper right.
The rough sketch layer overlaid on the gradation layer.
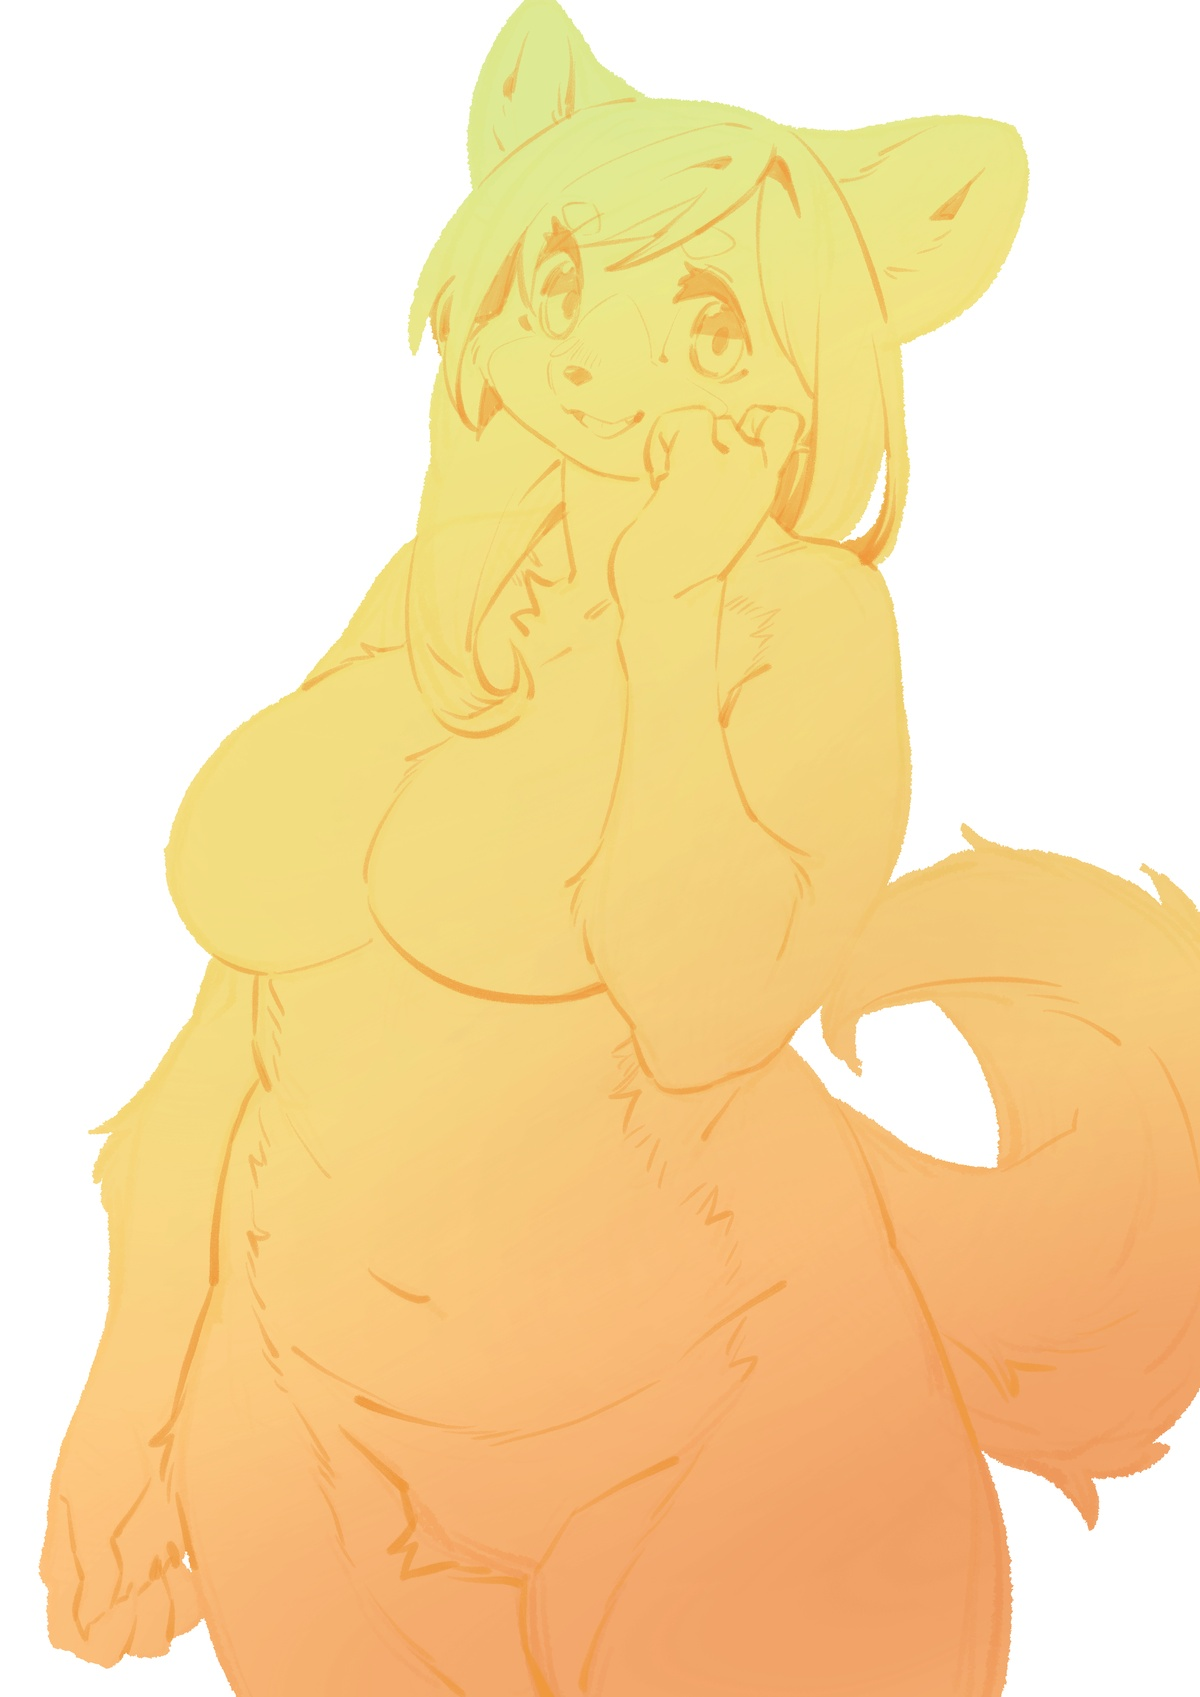
・Clean up
I lower the visibility of the overlay and draw proper lines.
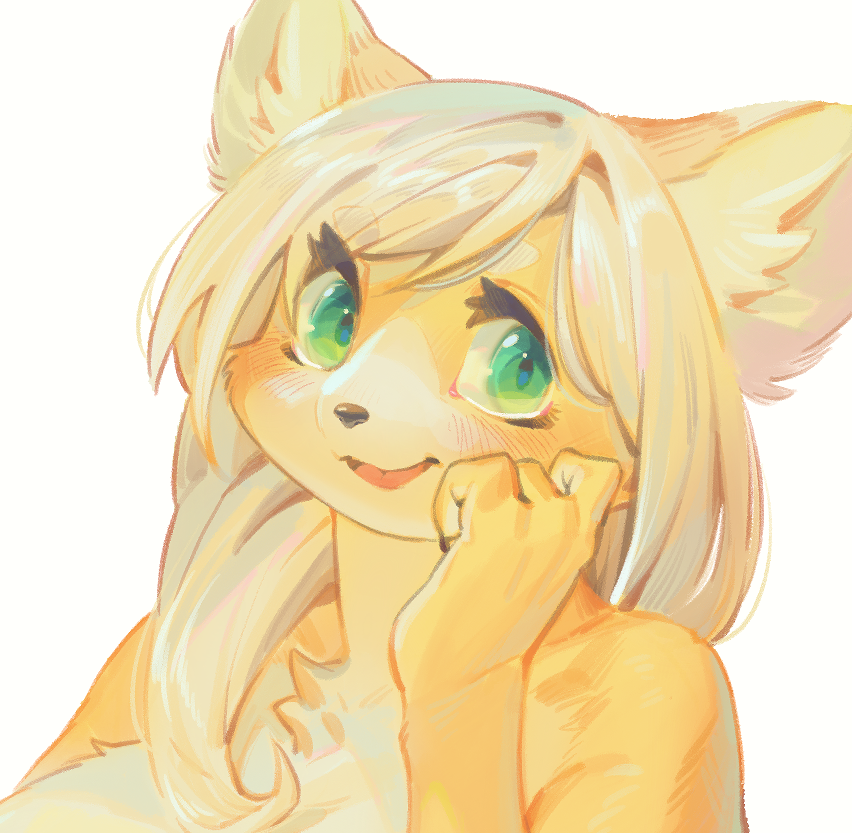
At this phase, I decide where to emphasize as if shades should be matt and eyes should be detailed as to grab the audience’s attention. Upon working on it, I found some parts I wanted to redraw. When it occurs, it’s high time I redrew to get the image close to my ideal vision.
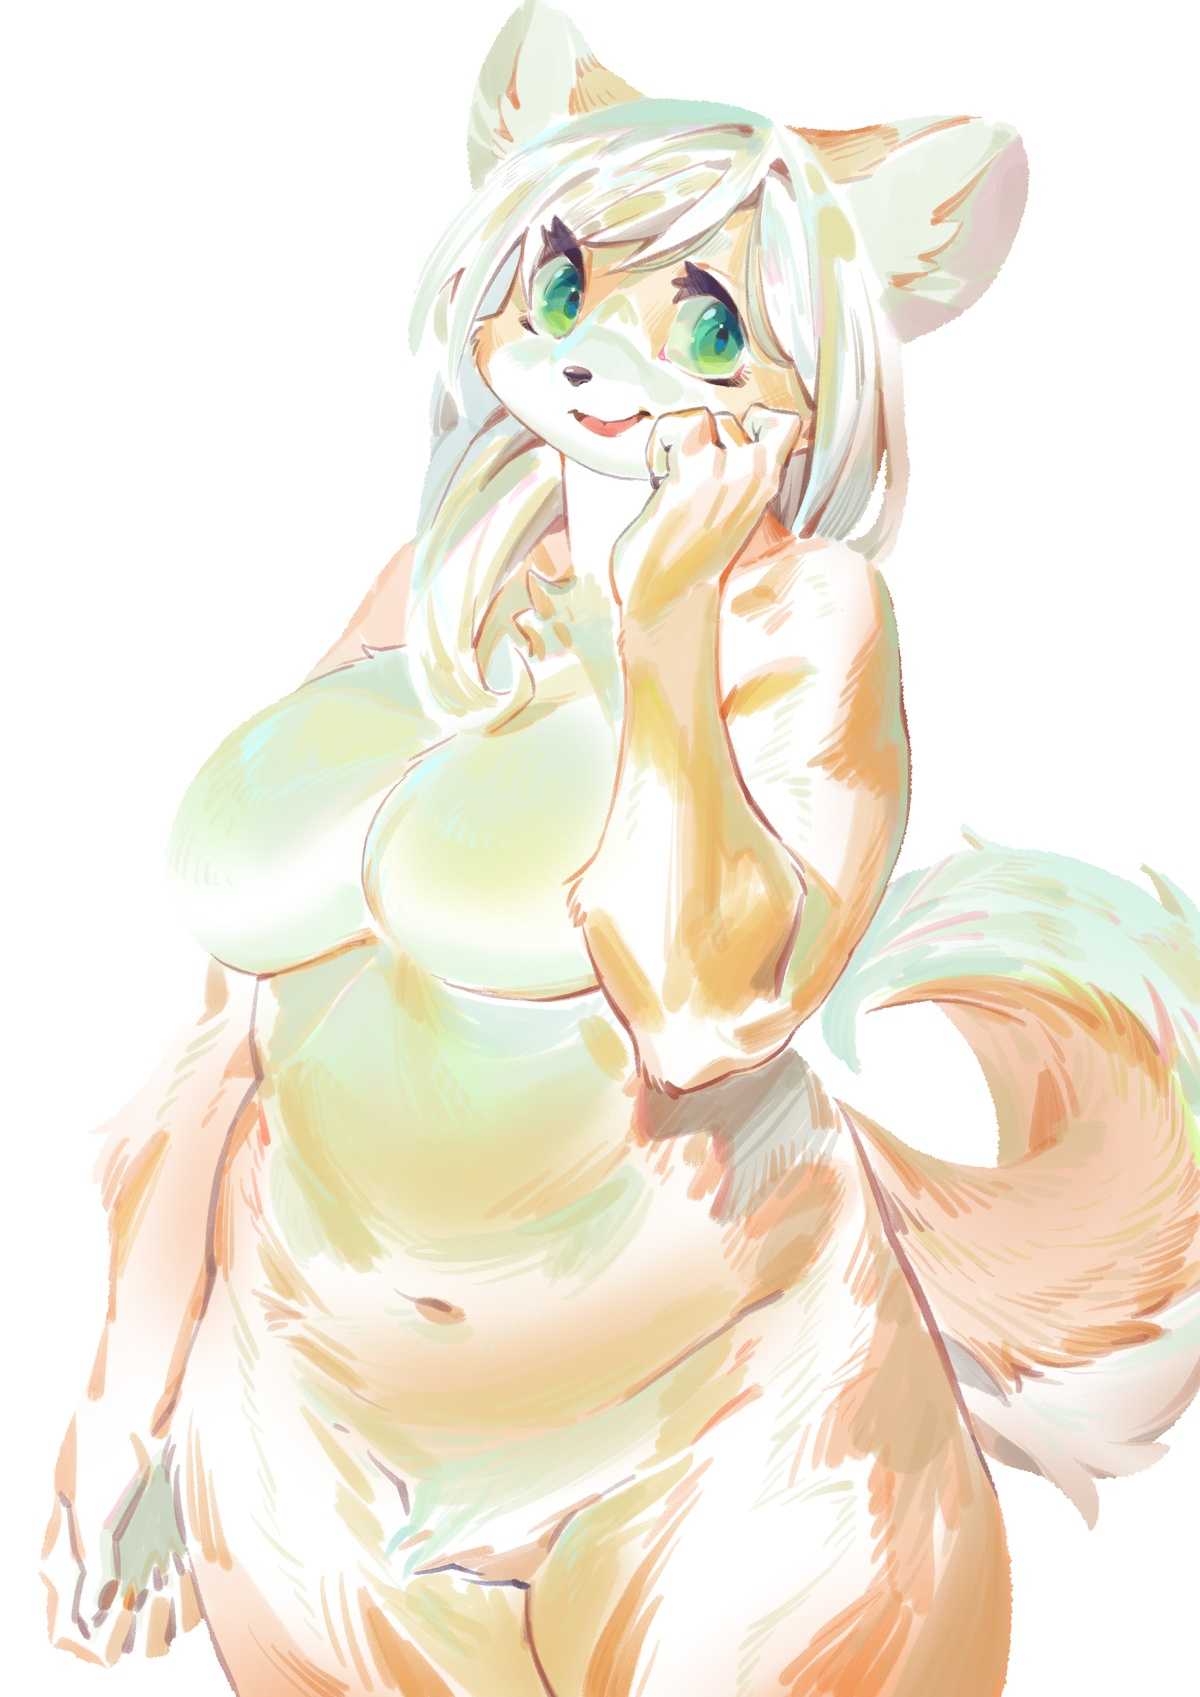
・Rudimental Painting
I want to paint it with Shiba-Inu's yellowish color, so I paint a brighter whiteish color roughly at actual Shiba-Inu’s white parts and also paint light’s color roughly at where the light hits.
his procedure affects the following steps. Having said that, I didn't think it so carefully because I’m not going to make an impasto painting, but I’ll surely make use of those rough colors later.
3. Final Painting
This is the longest part. Just add details as much as you want.
If I write everything I’ve done, it would be so tiring and dull, so I’m going to itemize important things. Which are;
-Using gray
-Brushing playfully, but don’t ruin the basic colors
-Playing with colors
・Using gray
There are many kinds of gray. I think if one can utilize gray effectively, one can widen the variety of color expressions.
I tend to choose chromatic colors when I draw colorful illustrations, but achromatic colors are also colors, so I would like to use them as well.
・Painting playfully, but don’t ruin the rudimental colors
I make use of rough colors. If I had used airbrush all the time, it would have been a soft and blurred image. In order to avoid this, use stiff brush effectively. Then, a color contrast becomes apparent.
Contrasts can occur in every single part. Now, the image below displays what I added on the foundation. As you may notice, white parts are where I didn’t touch. I didn’t paint so much, did I?
The types of brushes I used are;
-A brush with pen pressure
-A brush without pen pressure
-An Airbrush
-A blur brush
Basically, I use a brush with pen pressure. When I paint on a plane surface, I use a pen without pen pressure. When I want soft texture, I use an airbrush. A blur brush is used when I paint a potbelly.
The silhouette lines are getting vague. In order to get visual comprehensibility, I redraw lines.
However, The lines redrawn has to be well-considered because if I redraw a line in between fats just below a belly button, it wouldn’t look like soft.
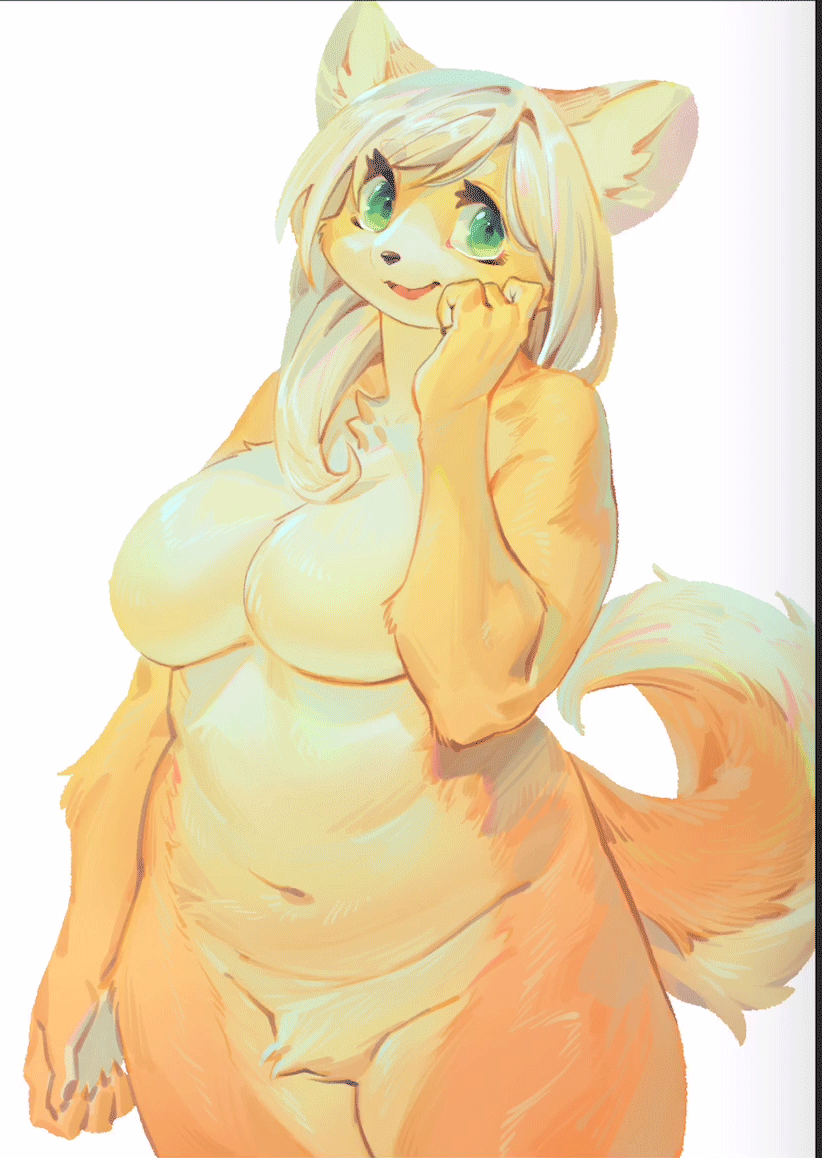
4. Finishing touches
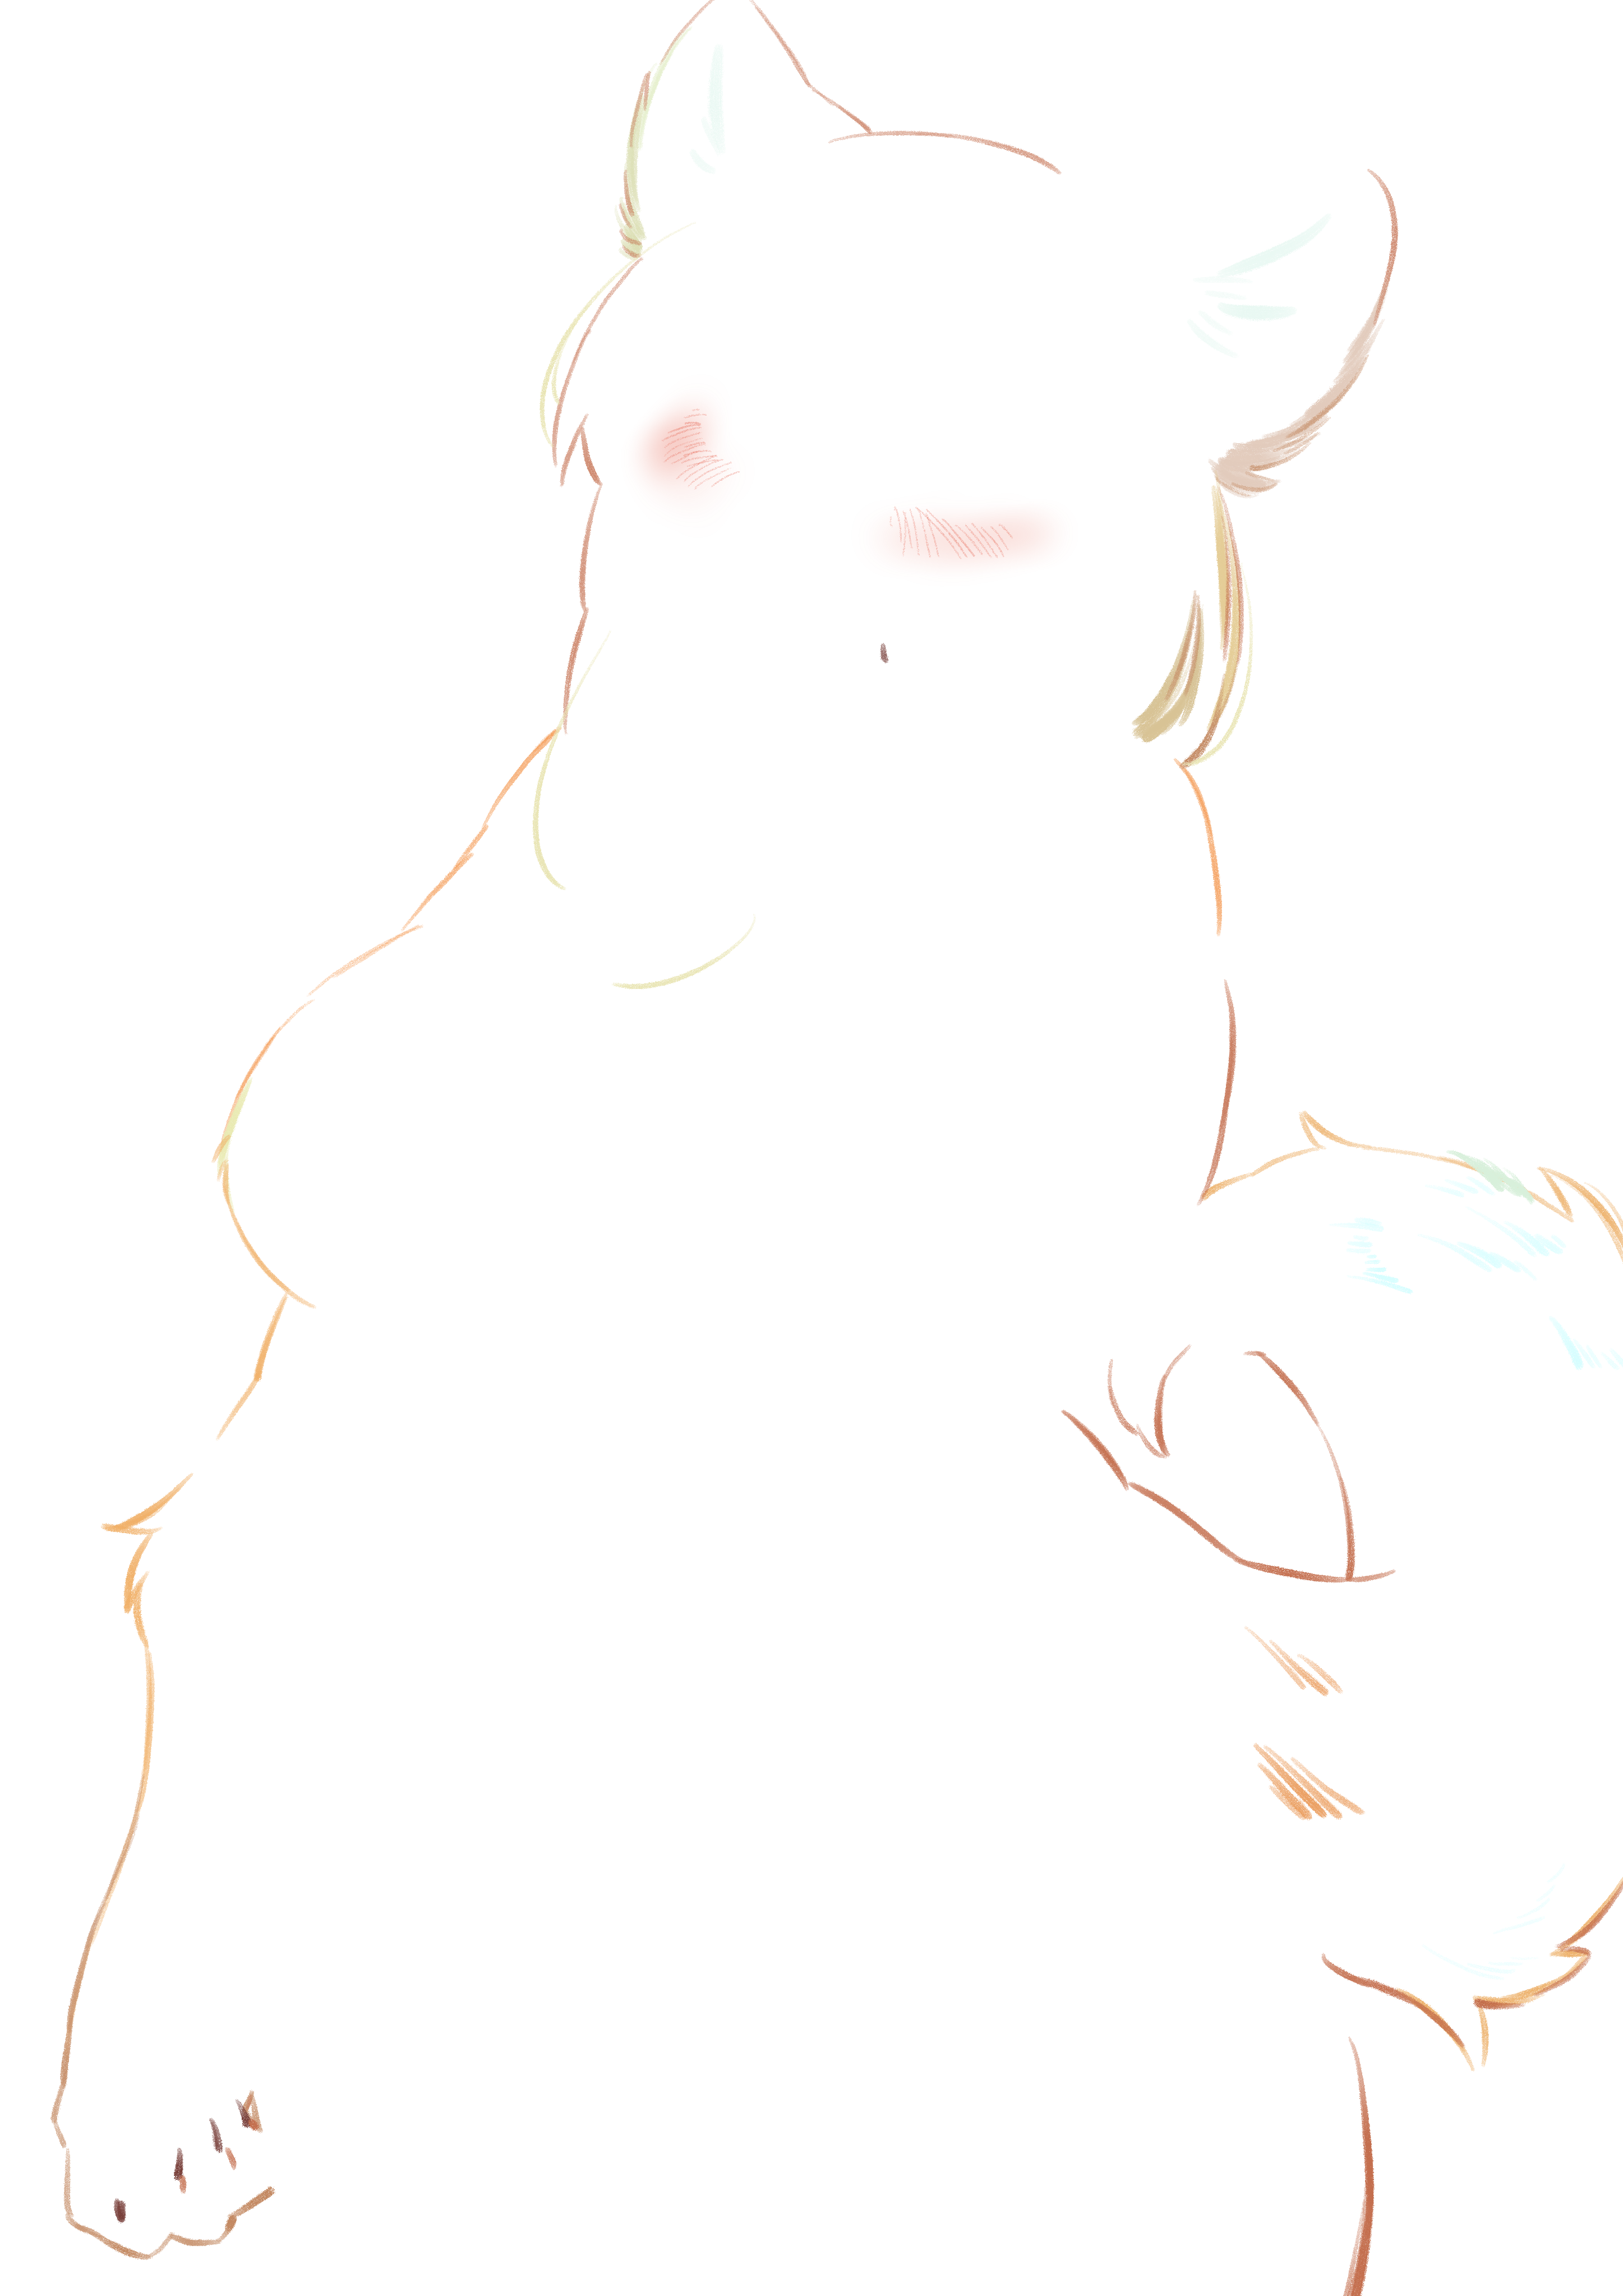
Lastly, I put a pin light and edit a bit the mask I made earlier.
Important things I keep in mind on the final phase are to look for a lack of visual comprehensibility and something I had postponed doing due to the masking procedure.
・Cowlick
It’s trendy right now to put cowlick randomly.
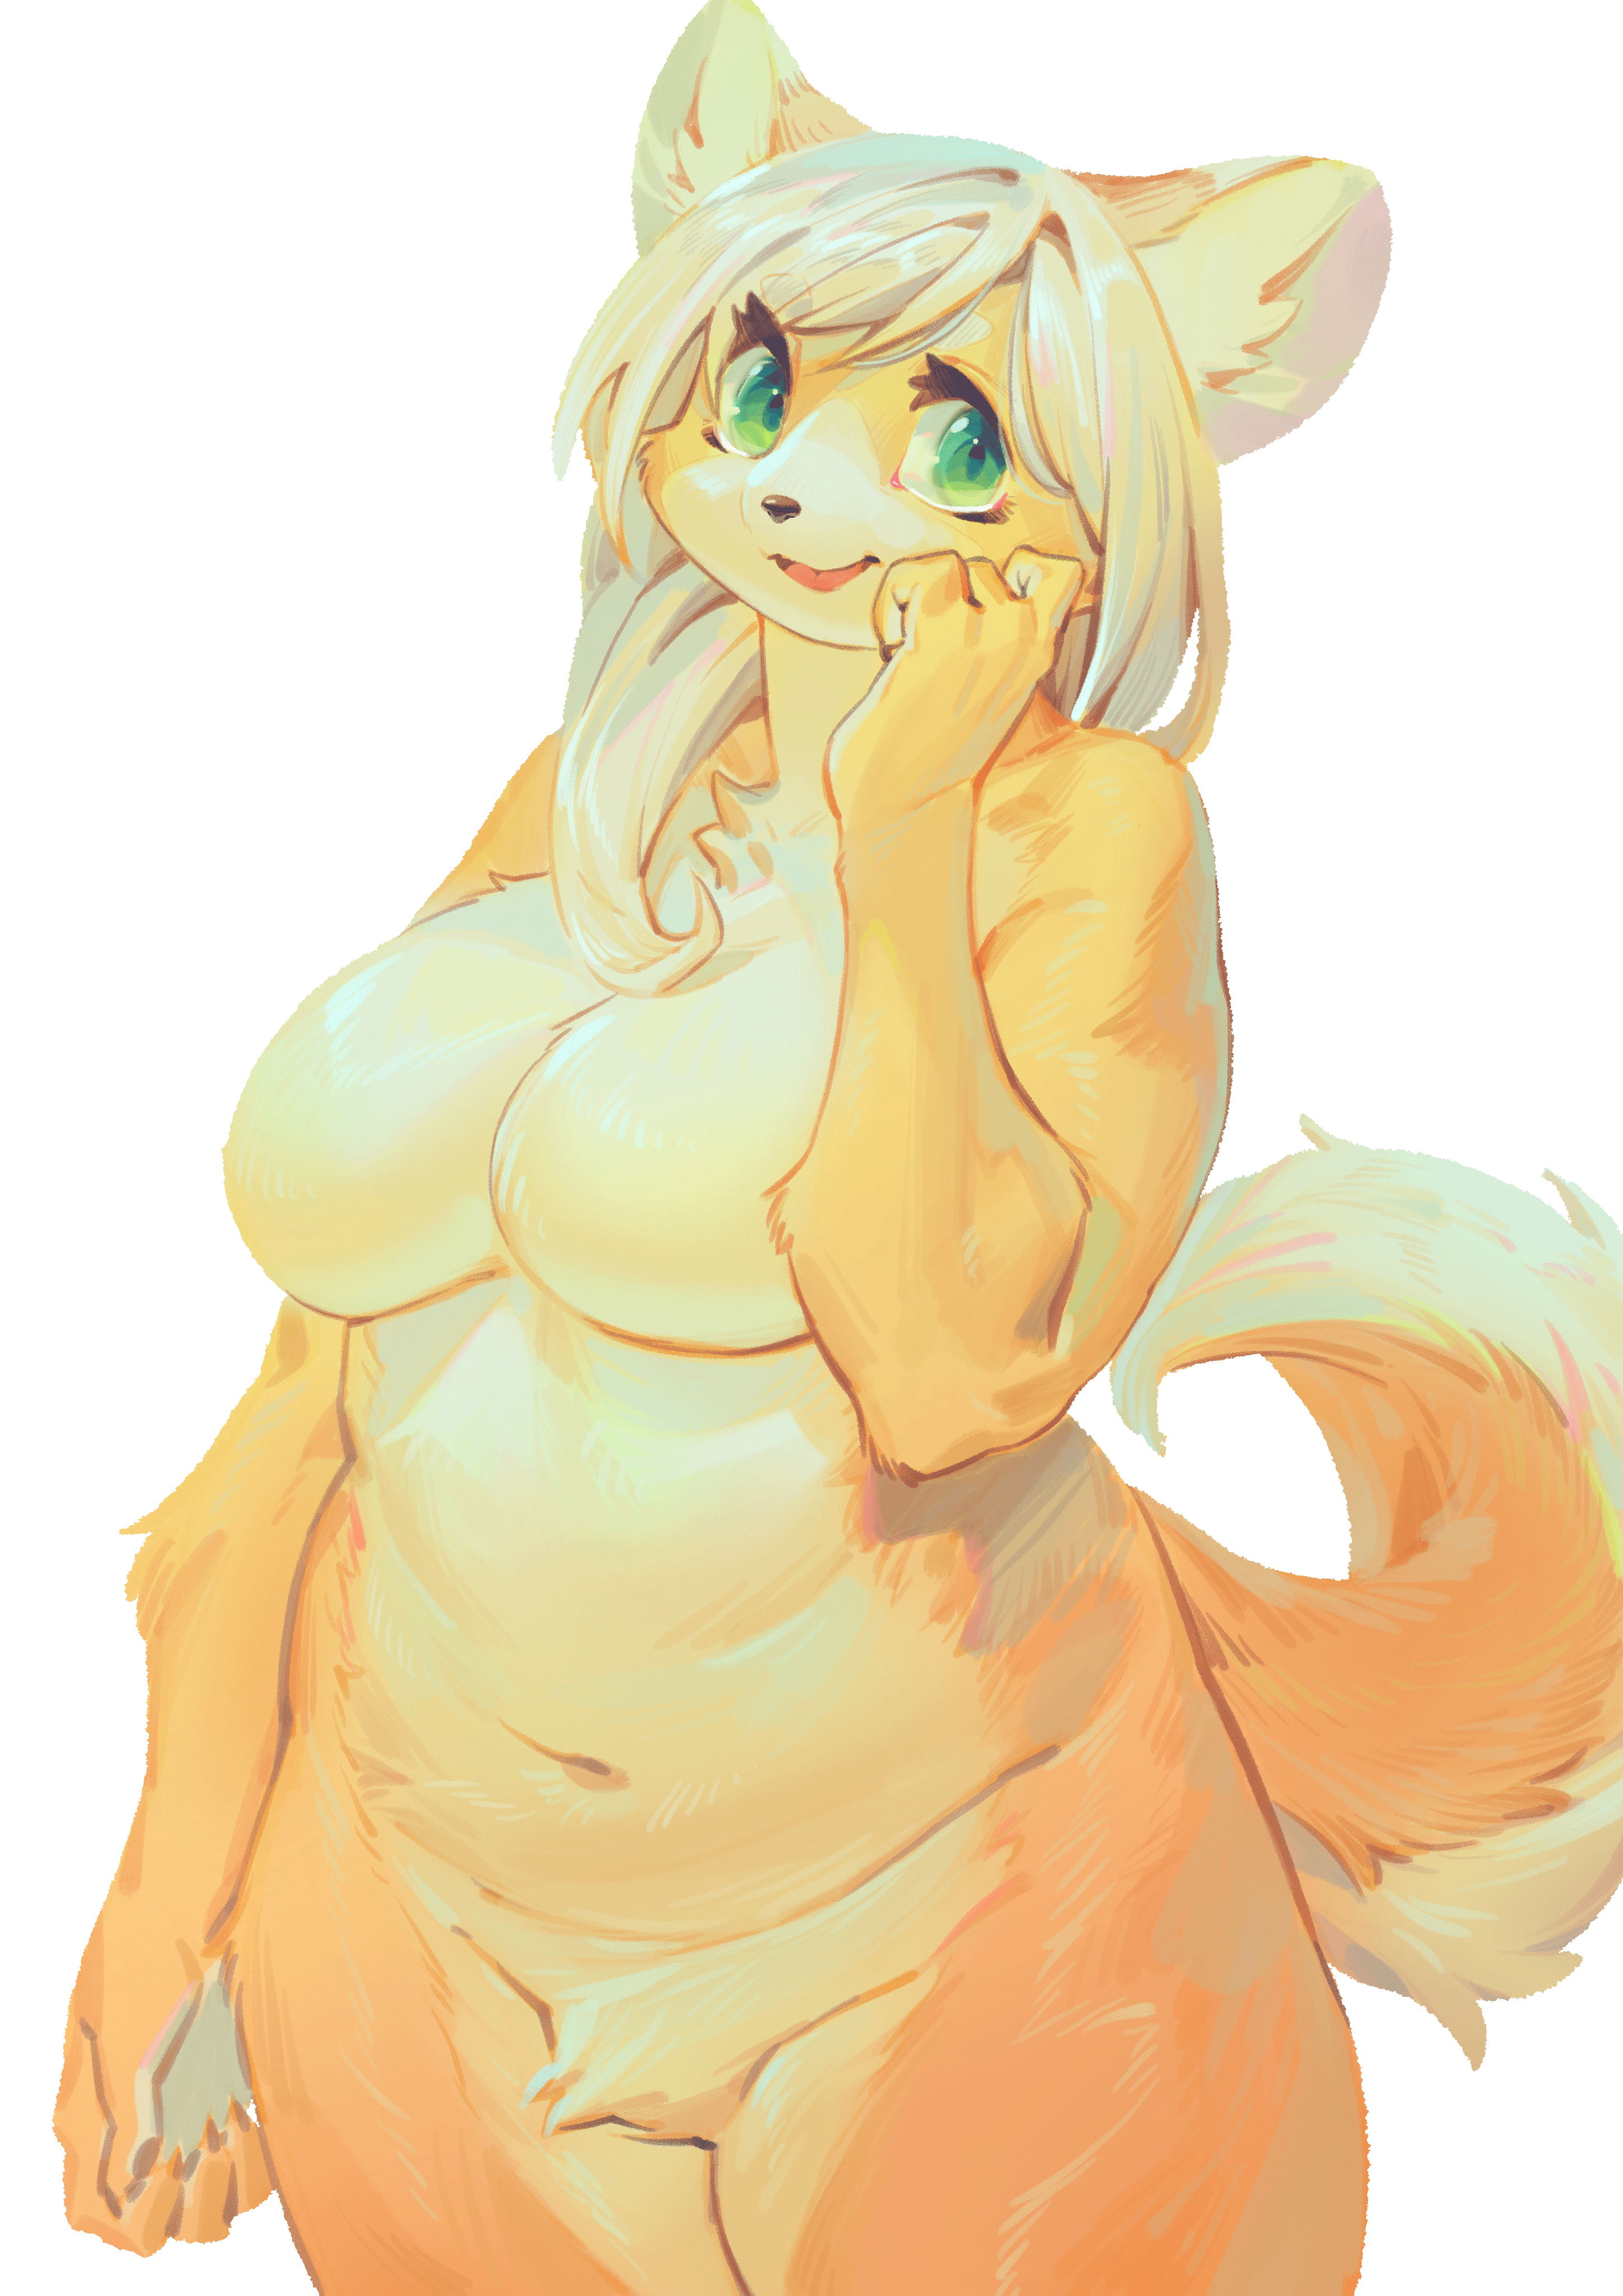
Lastly, After I put my signature at the left bellow and activate sharpness slightly, it’s finished!!
There is a couple of things I didn’t mention at the Final Painting phase, but mainly I did.
So I’ll probably explain them on another occasion.
Thank you so much for reading my article and stopping by my page.
jebaena91
2021-06-28 03:53:05 +0000 UTCLloydarkratos
2020-01-03 17:39:09 +0000 UTCmellowhen
2019-08-28 17:35:31 +0000 UTC


