First, inhale.
Boom, you've drawn breath.
Sorry, had to get that out of the way.
Drawing breath is actually pretty easy, though it does take some finesse and practice depending on the image.
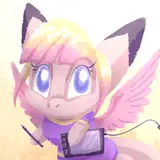
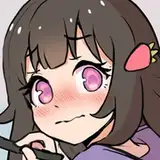
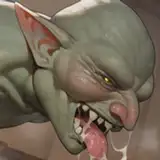
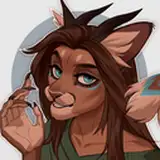
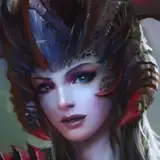
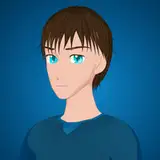
First, we have our breathless image:

Open it up in Gimp (or Photoshop or whatever, these are largely universal techniques).
Add a new layer above it (in general, you should always be trying to do things on a new layer. This gives you much more control). In the case of Gimp, that means right-clicking the layers area and choosing "New Layer."

It'll prompt you, the settings should be fine, so click "Okay."
Make sure your new layer is the one that's selected. Next, choose the "Airbrush" tool. It's located underneath the "paintbrush" tool, at least on this version of Gimp.

Now the really important step is picking your "brush." Gimp comes with a bunch of interesting brushes. There are a few that I think could work well for steamy breath, but this is my favorite, so click on it:

Now, scale up your brush size depending on your image resolution. It's important to note that smaller areas won't look nearly as intricate with a brush like this, but I still think it can work well.
Then, draw some breath! I like to use a mostly white grey.

This is probably the trickiest part. The overall "shape" of it matters, so I tend to just plant one "brushstroke" near each mouth, and then add more as the breath escapes and spreads out. Also, as their breath overlaps, I plant some additional strokes in the middle to make it look thicker. This step just takes finesse and practice. I don't even think I'm very good at it, but enough trial-and-error will get you there. You can also consider turning up the jitter settings or messing with the angle to get some random variety in there.
Anyway, once that's done, I like to apply a Gaussian blur to it (Filters > Blur > Gaussian Blur). The strength of the blur should vary based on the image resolution and how large your breath is. You'll also want "Preview" checked on to see your changes reflect as you tweak the settings.

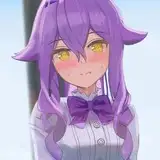
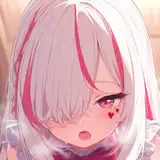
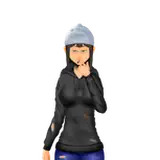
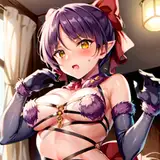
Finally, I adjust the breath layer's opacity, to make it more transparent:

In this case, I went with 40%, but...notice how the breath is nearly invisible against the grey background, just above the brown? I chose this background to kinda showcase how there's no magic number for opacity. It'll change depending on how strongly it contrasts against the background (and on how many brush strokes you made).
And that's it! You're done!
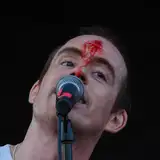
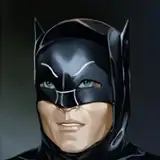
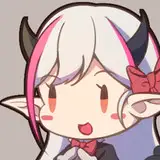
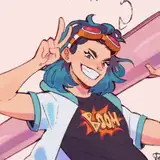
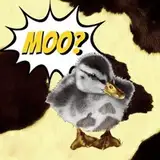
Sometimes I'll also use more cartoony-bubble type breath, like this:

I'm not gonna really go into this one, but it's pretty simple: Use Gimp's Path tool to make the outline shape, and then "stroke path." That's the crux of it.
Sometimes I'll mix both types of breath together, which can look nice. Depends.
THE END