XaiJu
NojsGraphics
NojsGraphics

patreon


Exclusive Set of 6 UV-Unwrapped 3D Stickers

Hey everyone, Adrian here!

I'm excited to share my first post with you all on Patreon. As I've jumped back into creating tutorials, I've focused on making them even better and more polished. Through my Patreon page, I'll be offering exclusive insights, tutorials, and some really cool assets just for you.

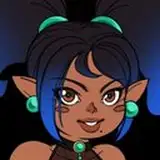
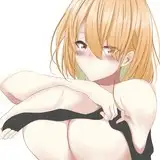
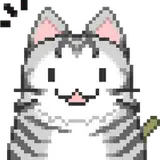
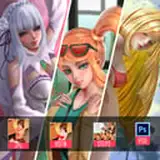
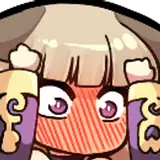
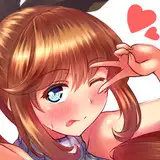
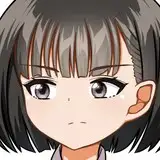
To kick things off, I've included a set of 6 UV-unwrapped 3D stickers. Plus, there's the beginning of a new tutorial series called "Holographic Series". We'll explore all sorts of colorful shaders in this one.

So glad to be back, and I'm looking forward to learning and growing together with you all. Let's dive in!

Exclusive Set of 6 UV-Unwrapped 3D Stickers

Comments

Hey! Sorry for the late response, I didn't notice any notification about your comment. Yes, it's actually a simple setup in Cinema 4D. If I remember correctly, the most useful settings were Bendiness with a higher value, Thickness to a low value, and Target Length slightly below 100%. An extra setting that helped me a lot was the stickiness value, so when the cloth simulation drops to the ground slightly below, just after it shrinks because of the Target Length, it will stick to the surface instead of relaxing across the floor, creating those nice wrinkles. Later, I added cloth thickness and used sculpting to prevent certain geometry from clipping with each other. The UV part is fairly easy since it's still primitive shapes but slightly distorted.

Hi Adrian, How to make such wrinkles on stickers? Using fabric simulation?

Konstantin Chernenko


More Creators