I'm almost done with the current badge I'm working on, and I thought it might be a good idea to go over my process a little. :) I don't use this process for everything I do, but it is a simple way to do things. Technically, I'm still not done with this and there are a few more things I need to do - so consider this a work in progress. :D
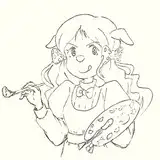
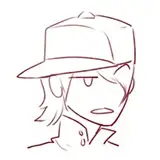
Step 1 : This was one of the basic thumbnails I sent to the client. For these, I mostly try to just get a general shape and expression down. I don't focus too much on drawing the armor, but I still want them to kind of get an idea. These don't take me too long, maybe a few minutes each.
Step 2: The client liked the first thumbnail the most, but asked me to make a couple changes regarding the character. From here on, I do a much more detailed sketch.
Step 3: I do a 2nd pass over the sketch, cleaning up the lines and "inking" it. I'm hesitant to really call this inking - as I literally use the same brush I used as the sketches below. Lines are just thinner and cleaner overall. I tend to not worry about making things too perfect in this stage, as most of the time I fix things later on by painting over it. At this point, I also change the background color to a neutral grey to help my eyes a bit. Working on white backgrounds can be pretty jarring for you eyes if you stare at it too long. :)
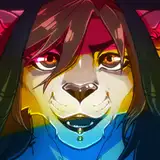
Step 4: Flats, gradients, and light shadows! Here, I use multiple layers and fill in flat colors with an opaque brush. Each section being on its own layer, like the skin. Afterwards, I can lock each layer and using an airbrush tool (or just a soft brush) I start laying in shadows and highlights.
Step 5: Once I get the basic colors down and the way I like them, I start merging all the different color layers and leave my lineart layer separate. Sometimes, I'll keep my sketch layer (step 2) on top of the colors as a multiply layer, and erase parts until I get a desired look. I continue to refine the color layer, adding in values with multiply layers as needed and overlays to adjust colors.
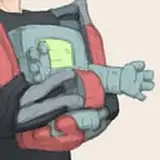
Step 6: Merge it all together and render render render! I tend to switch to photoshop a lot for this stage to take advantage of the various editing tools. Liquify and level adjustments get used a lot! This is probably the most time consuming step in the process. I pretty much just continue to render things until I feel its done.
As you can see, I'm still not done, but its getting there! There are a couple lighting issues I need to fix, and I plan to add in some extra pops of color in the background as well. :) Apologies if this is a bit of a jumbled mess! I'm not great at writing tutorials of any sort, but sharing steps like this is something I'd like to do more of.
If there's anything you guys want to see or have questions about, let me know!