✨ If you want to start putting yourself into literally any scene you can imagine – this is the workflow for you.
This post breaks down the exact tools I used to create the video you're seeing above – from designing my character to animating the final shots. It's like stepping into your own universe. Here's the magic behind it:
👇 Full Process Breakdown
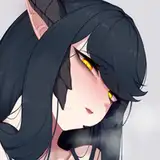
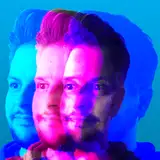
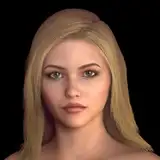
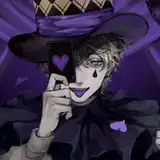
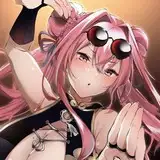
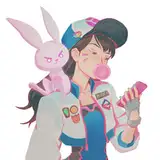
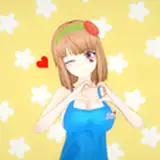
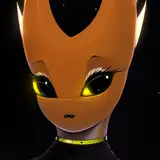
🎭 Custom Character Creation
I built a fully custom 3D version of myself using Freepik’s character builder – something i was dreaming about for years, now the tech is there!
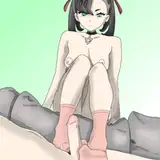
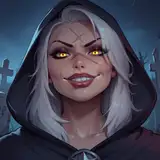
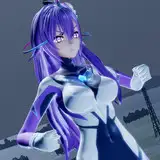
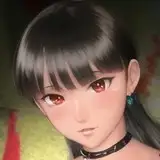
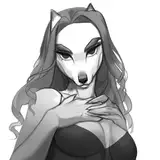
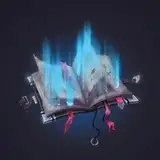
🌌 Scene Generation with FLUX (inside Freepik)
I used FLUX to drop my character into mind-blowing AI-generated environments – fantasy forests, sci-fi temples, dreamlike underwater worlds. This tool is insanely powerful for setting the vibe.
🖼️ Image Upscaling with Magnific
To give every image a crisp, cinematic quality, I ran them through Magnific. The sharpness makes a big difference, especially when animating.
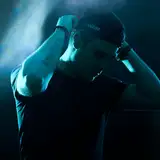
🎥 Animation in Kling
Kling took my still images and transformed them into animated scenes with smooth camera movement and atmospheric effects. It’s like your art comes to life.
🎬 Final Edits in CapCut
I wrapped everything up in CapCut – added transitions, effects, music, and synced everything for max impact.
💡 Pro Tip: It’s ALL in the prompt.
The better your prompt, the better your result. I’ll be sharing my exact prompts in an upcoming post if you want to try this yourself.
Dominic Egger
2025-04-21 09:48:26 +0000 UTCKéJay
2025-04-21 04:57:55 +0000 UTC