This time the progress is mainly on modeling and shading of the armament.
First, as in the previous issue, I modeled the feet. I did the thimble socks and decorations. This part is easy, so I made it quickly.
Fig.1
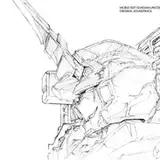
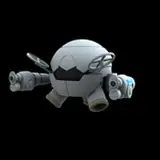
Next is the modeling of the armament. Modeling the cross was easy, but I had a hard time creating the double helix of the spear. I made a ladder, deformed it simply with a modifier, and attached the ends together. Since there were many geometric arrangements, blender's array modifier was very useful. I am glad that I was able to learn about array modifiers.
Fig.2
The modeling is now complete. By the way, the number of vertices is about 25,000 and the number of triangulated surfaces is just under 50,000. The previous Gotland had about 34,000 vertices and 63,000 triangulated surfaces, so I am very happy that I was able to reduce the number of vertices to such a low number with this character's many hairs and armament included.
Fig.3
Next comes shading.
Shading is the process of calculating and drawing the color and surface of an object. In other words, it is the process of creating color, texture and shadow.
Let's start with the armament. I will create a metallic texture to make the armament glow.
Fig.4
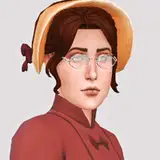
Next, I shade the clothing and accessories.
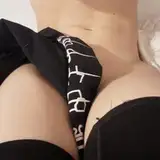
The gold ornaments should be polished to show the traces of polishing, and the cloth on the entire torso should be smooth and have a cloth-like texture.
Fig.5
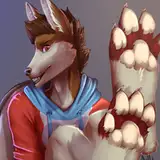
The socks will have a warm and comfortable texture.
Fig.6
Clothing and accessories are now complete.
Fig.7
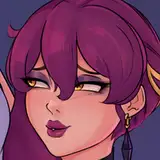
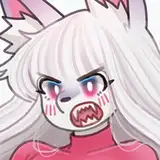
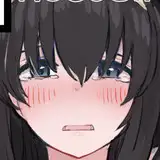
The next step is to shade the hair.
As with the hair of King Protea, which I modeled previously, I tried shading without drawing. However, I was not satisfied with this method, so I plan to re-do it later by drawing the hair one by one with UV development. It will take a lot of time, but I will do my best.
Fig.8
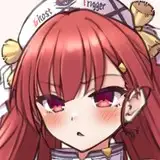
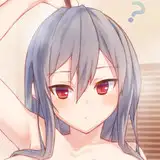
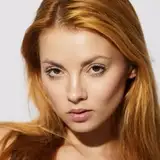
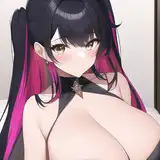
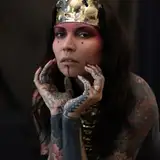
Finally, the body shading.
I will use the skin texture image from the previous Gotland and create a shading for the skin texture and synthesize it, aiming for a texture that is both realistic and cartoonish.
Fig.9
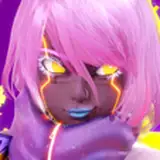
However, since this is still a work in progress, the UV borders are clearly visible and need to be corrected. I need to draw additional texture images, so this is where the drawing software comes into play.
Fig.10
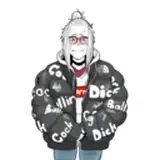
This is the current full-body image. It would be nice to add some color to the image.
Fig.11