


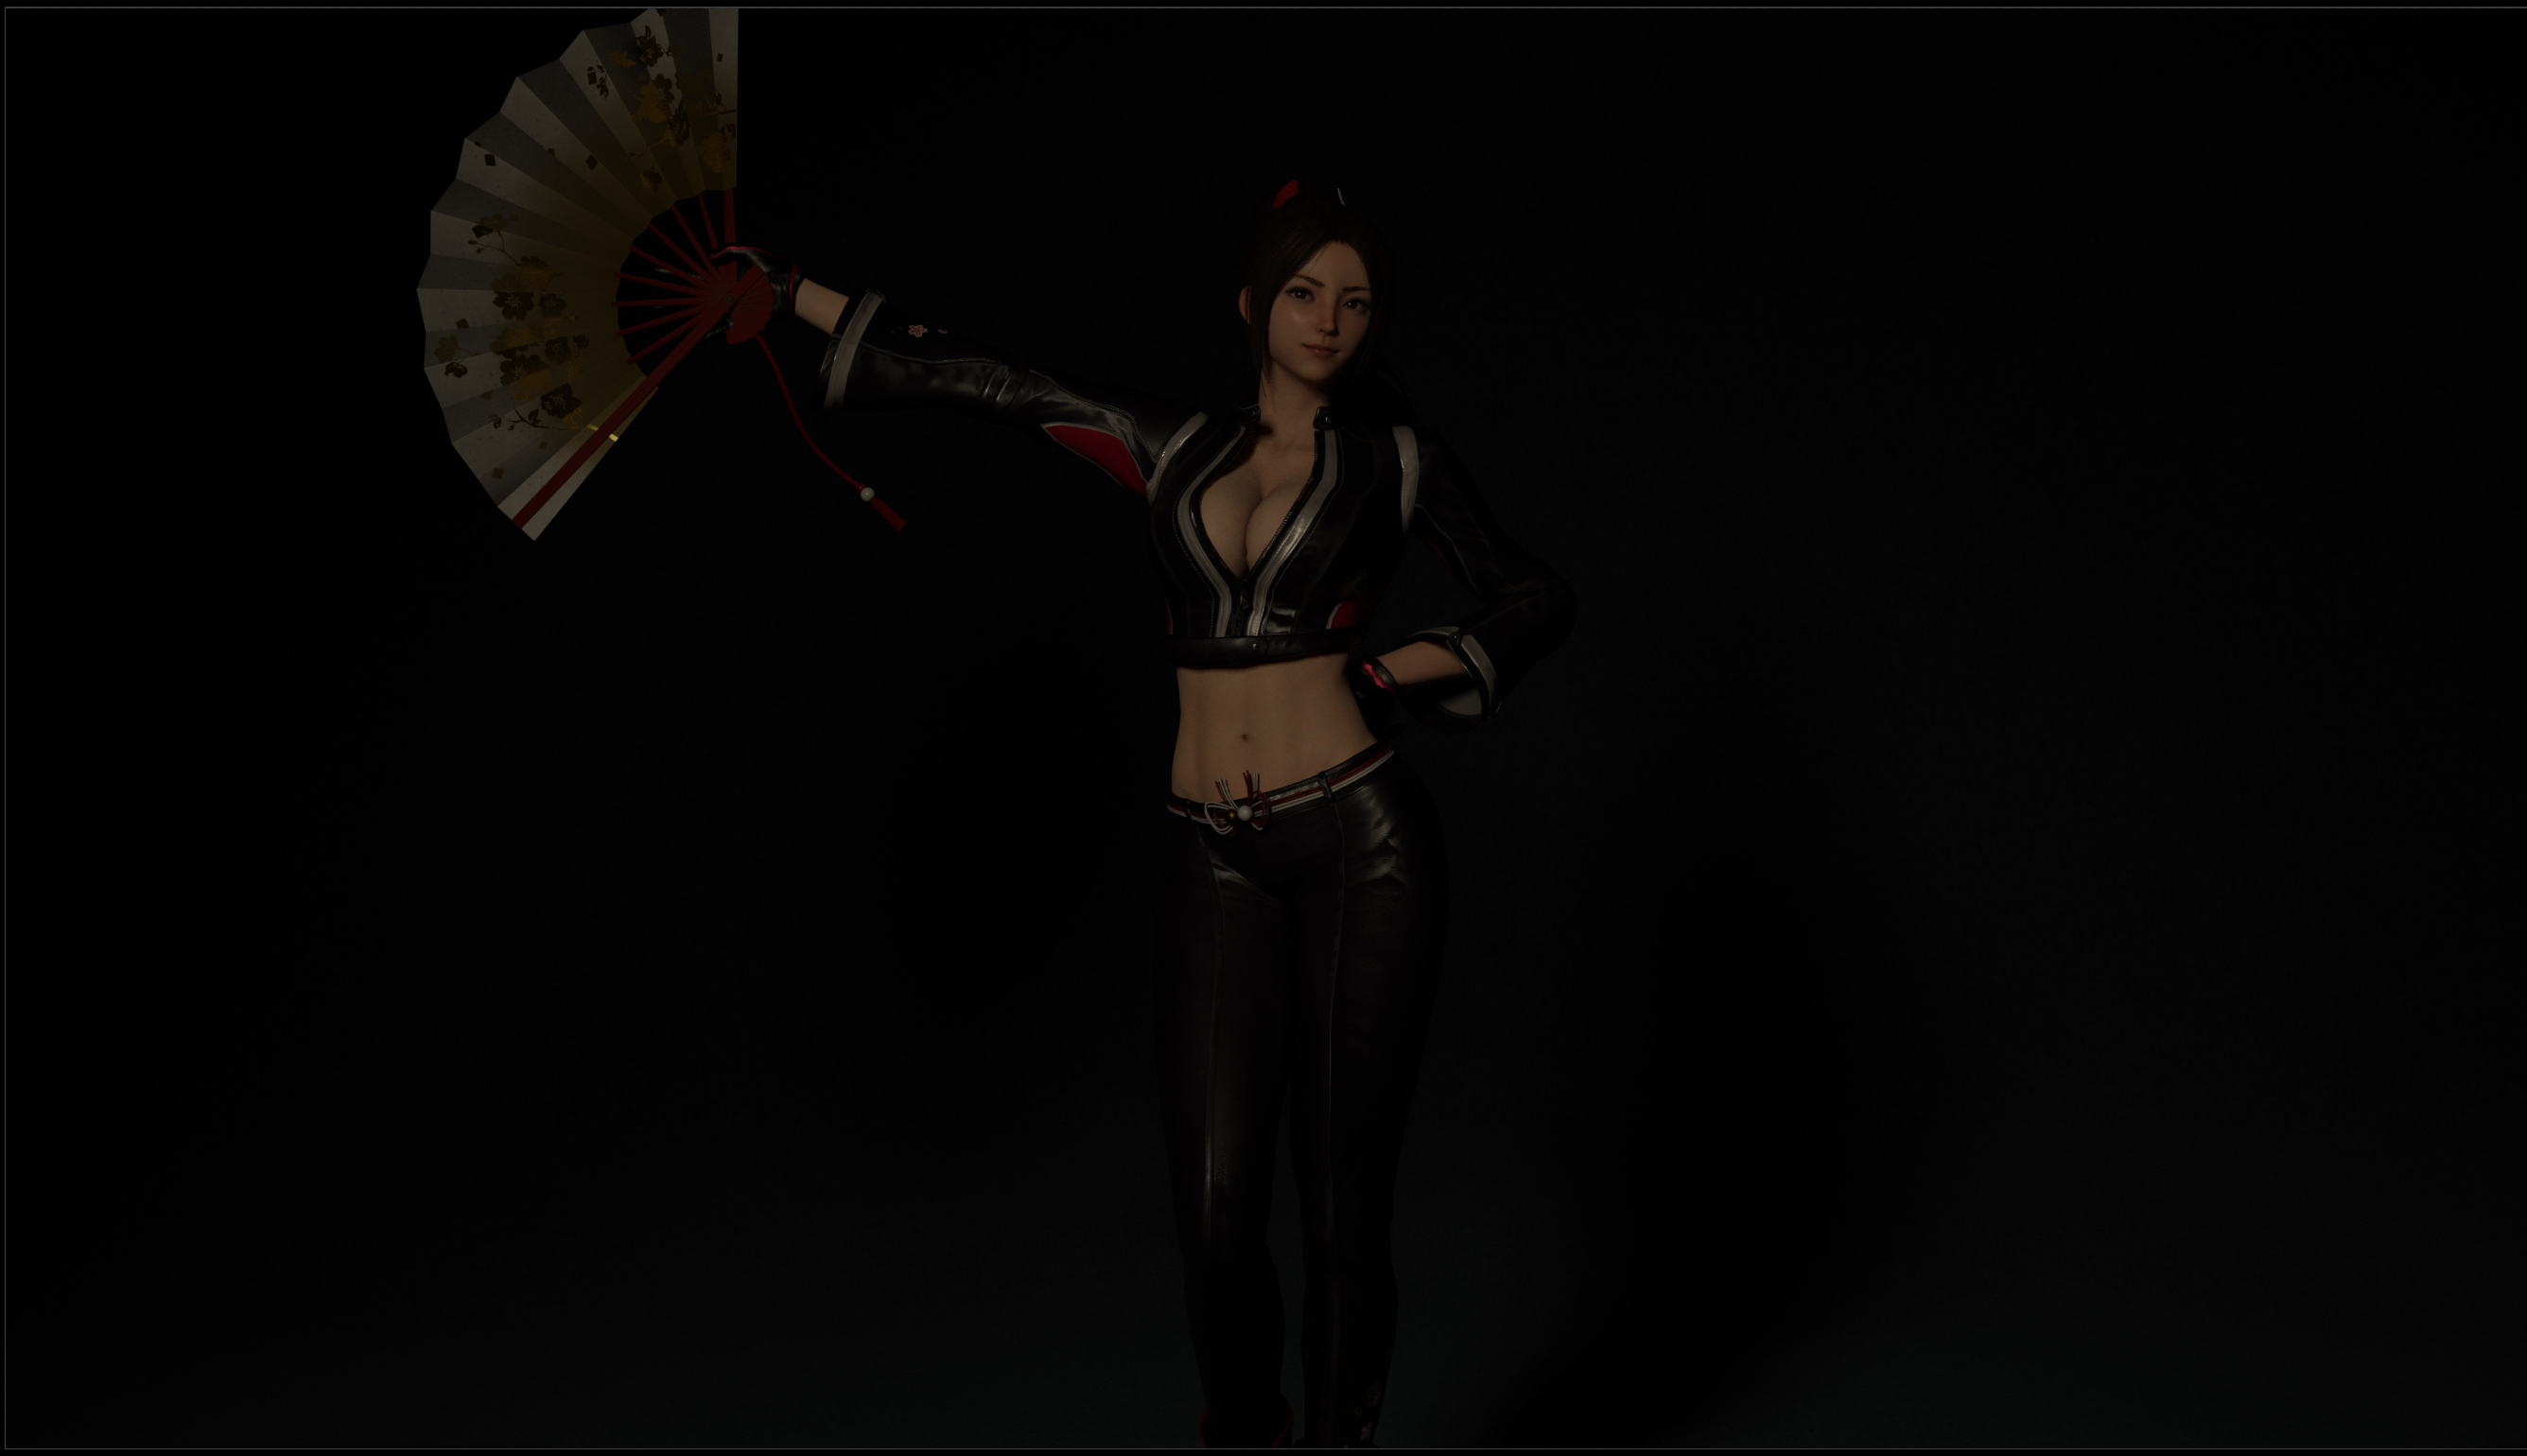
This section describes the operation of the lights.
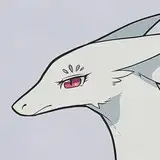
The file “Shiranui_v1_250308” is used for the explanation.
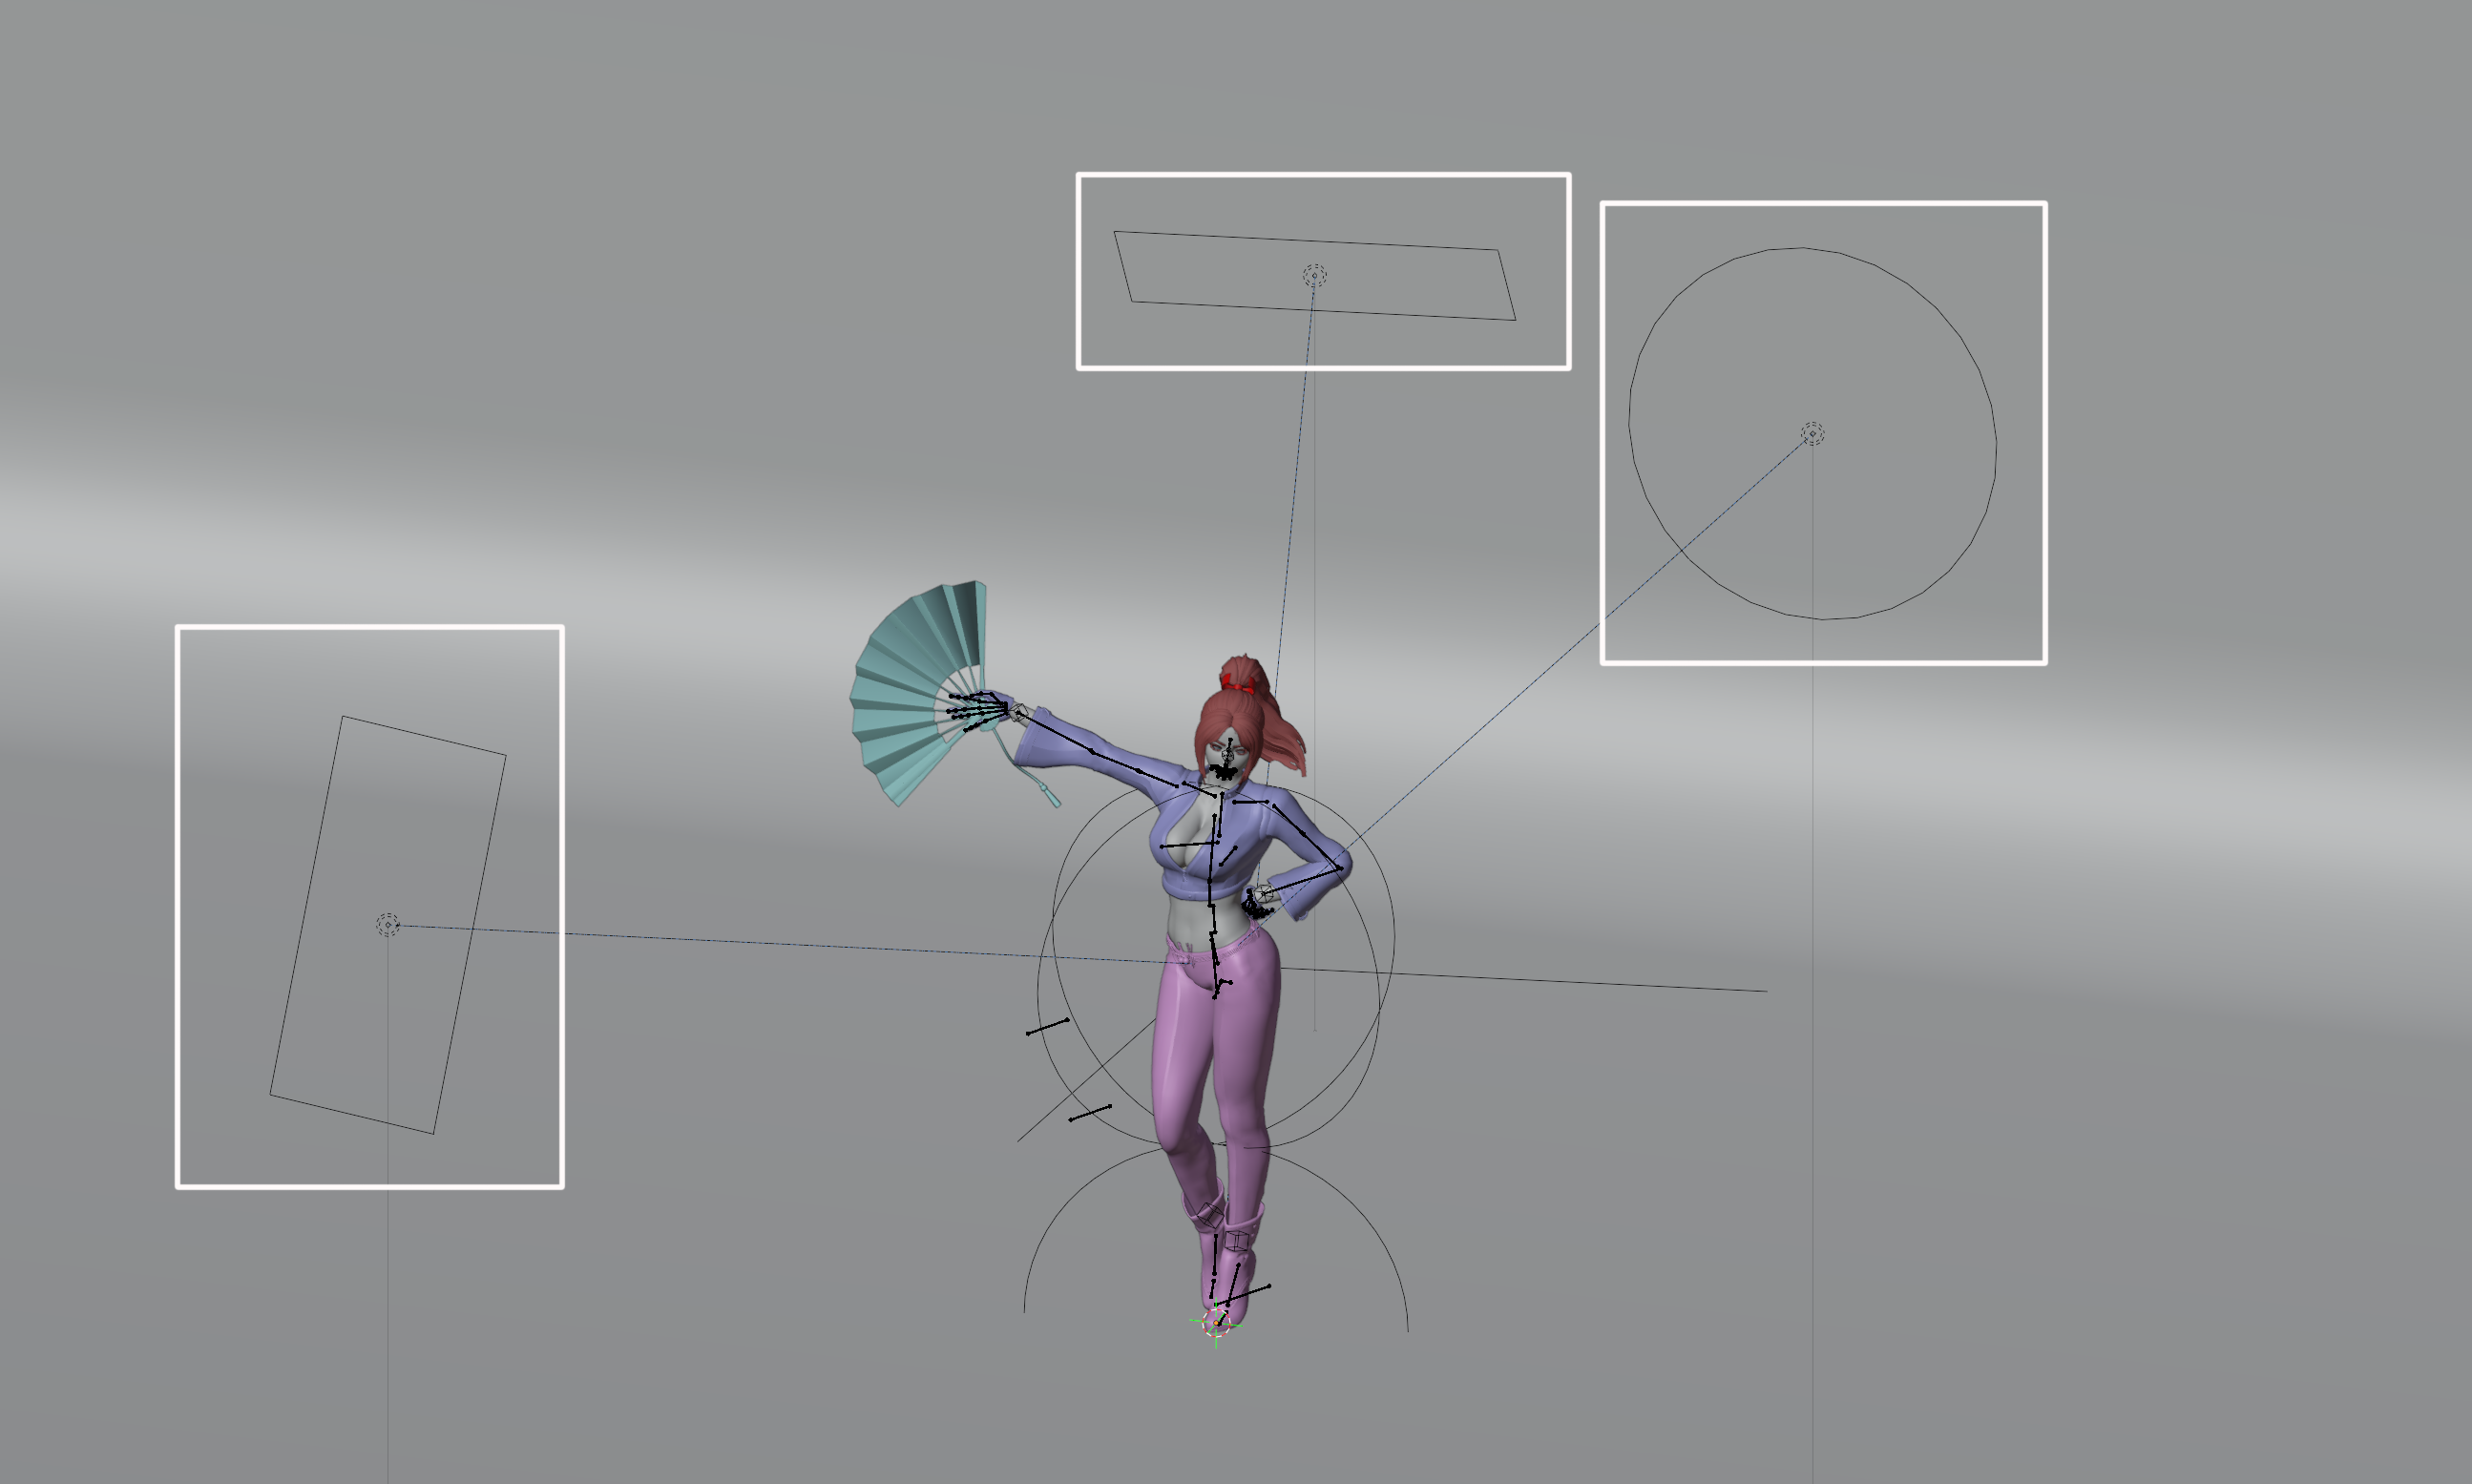
The initial setup uses a three-point light that shines light from three directions.
The roles and operations of these three lights will be explained in this article.
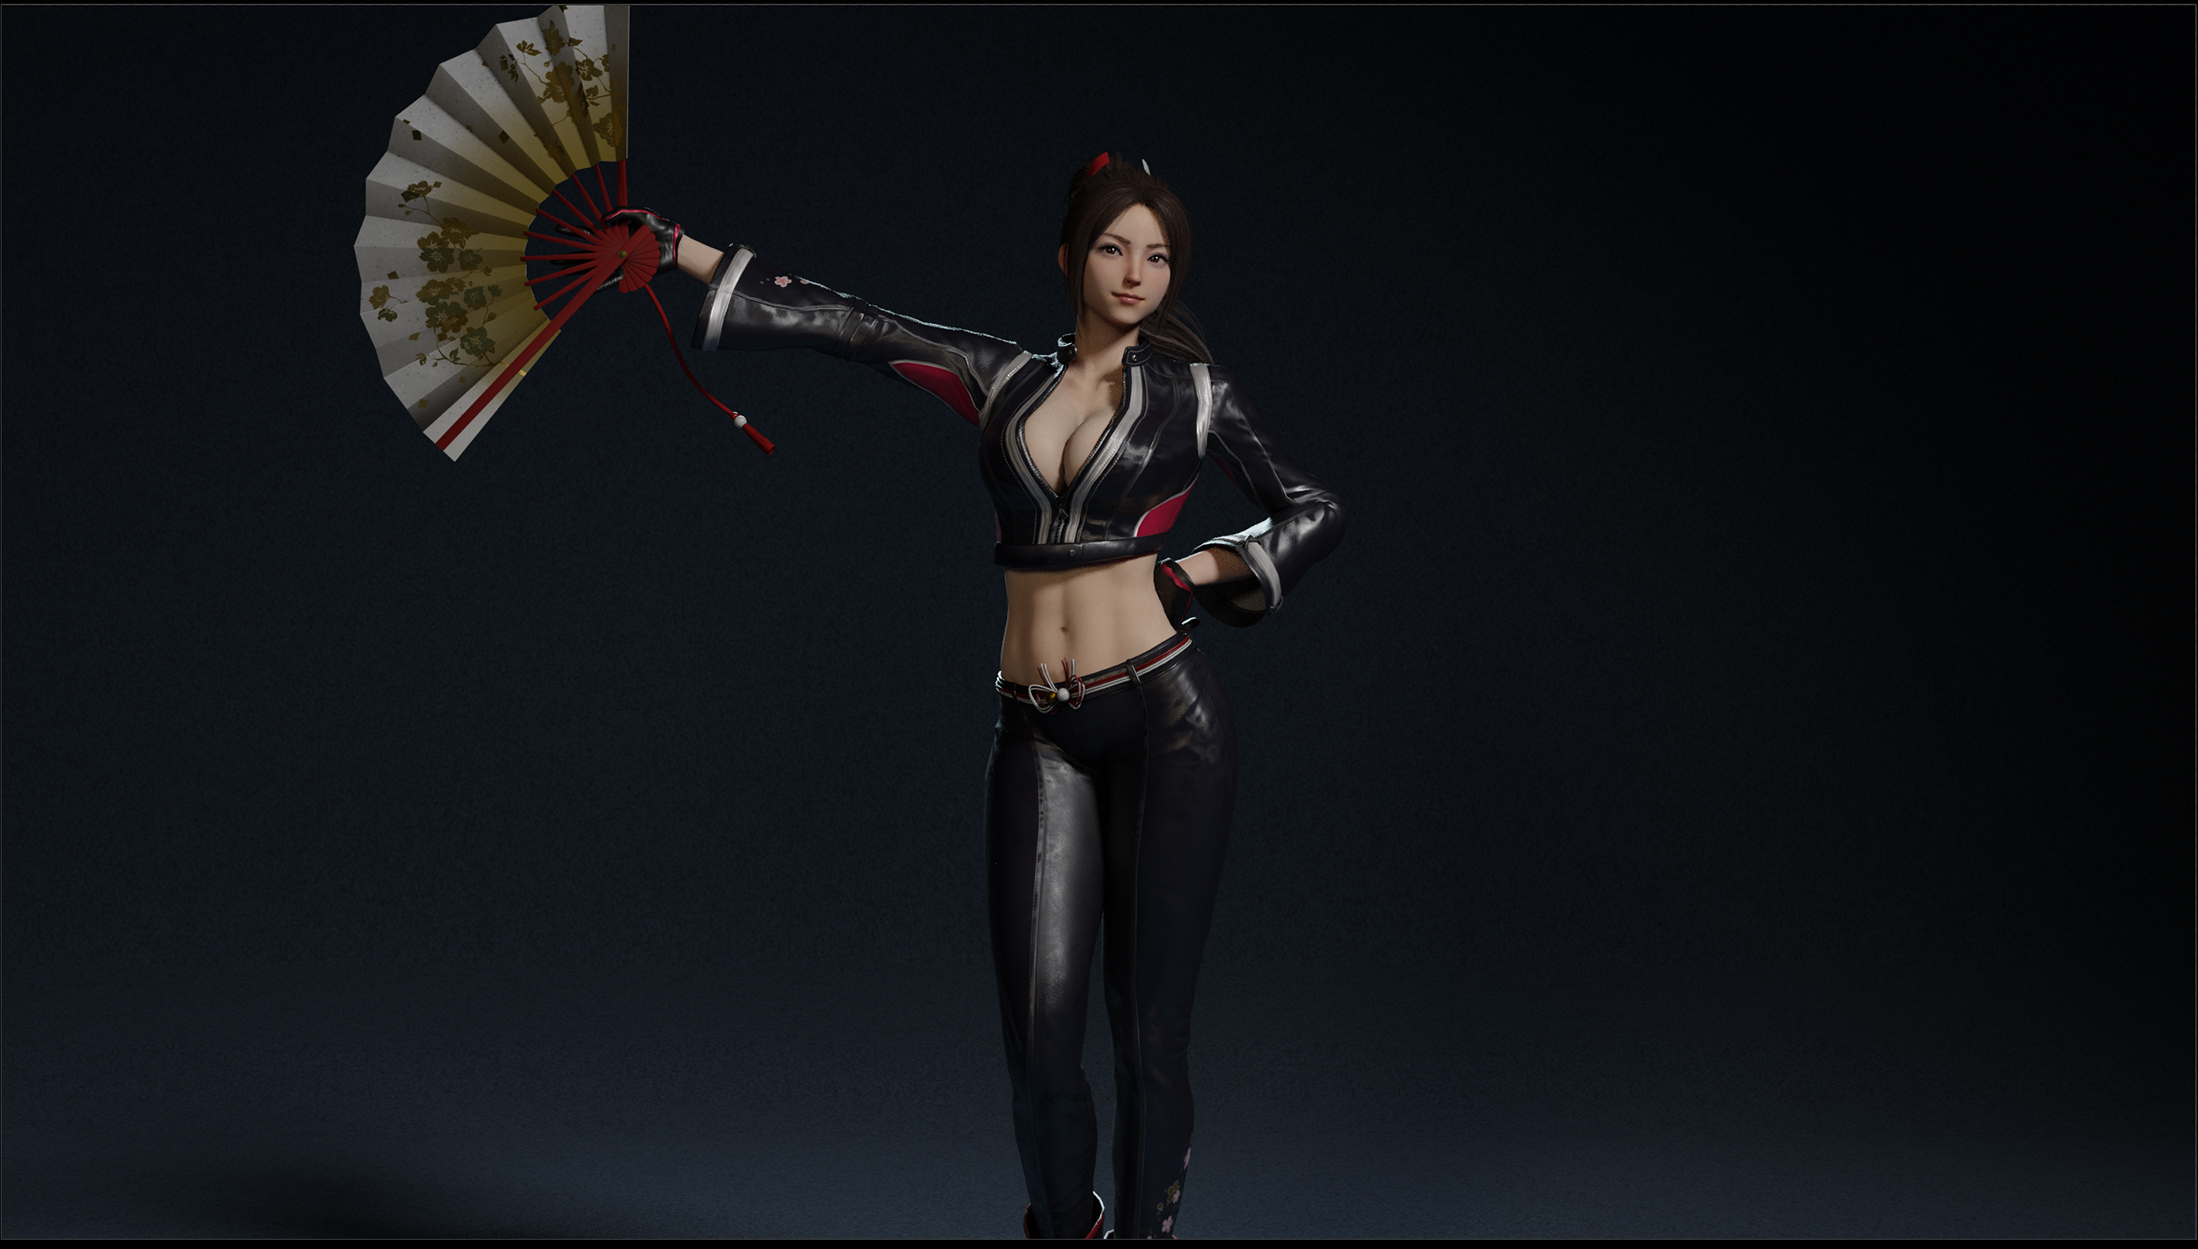
The main light is the main light that illuminates and shades the model.
It is also called the key light.
A fill light illuminates the entire image and softens shadows.
Basically, they are placed in the same direction as the camera or on the opposite side of the main light.
Here, a slightly yellow light is used to create an overall warmth.
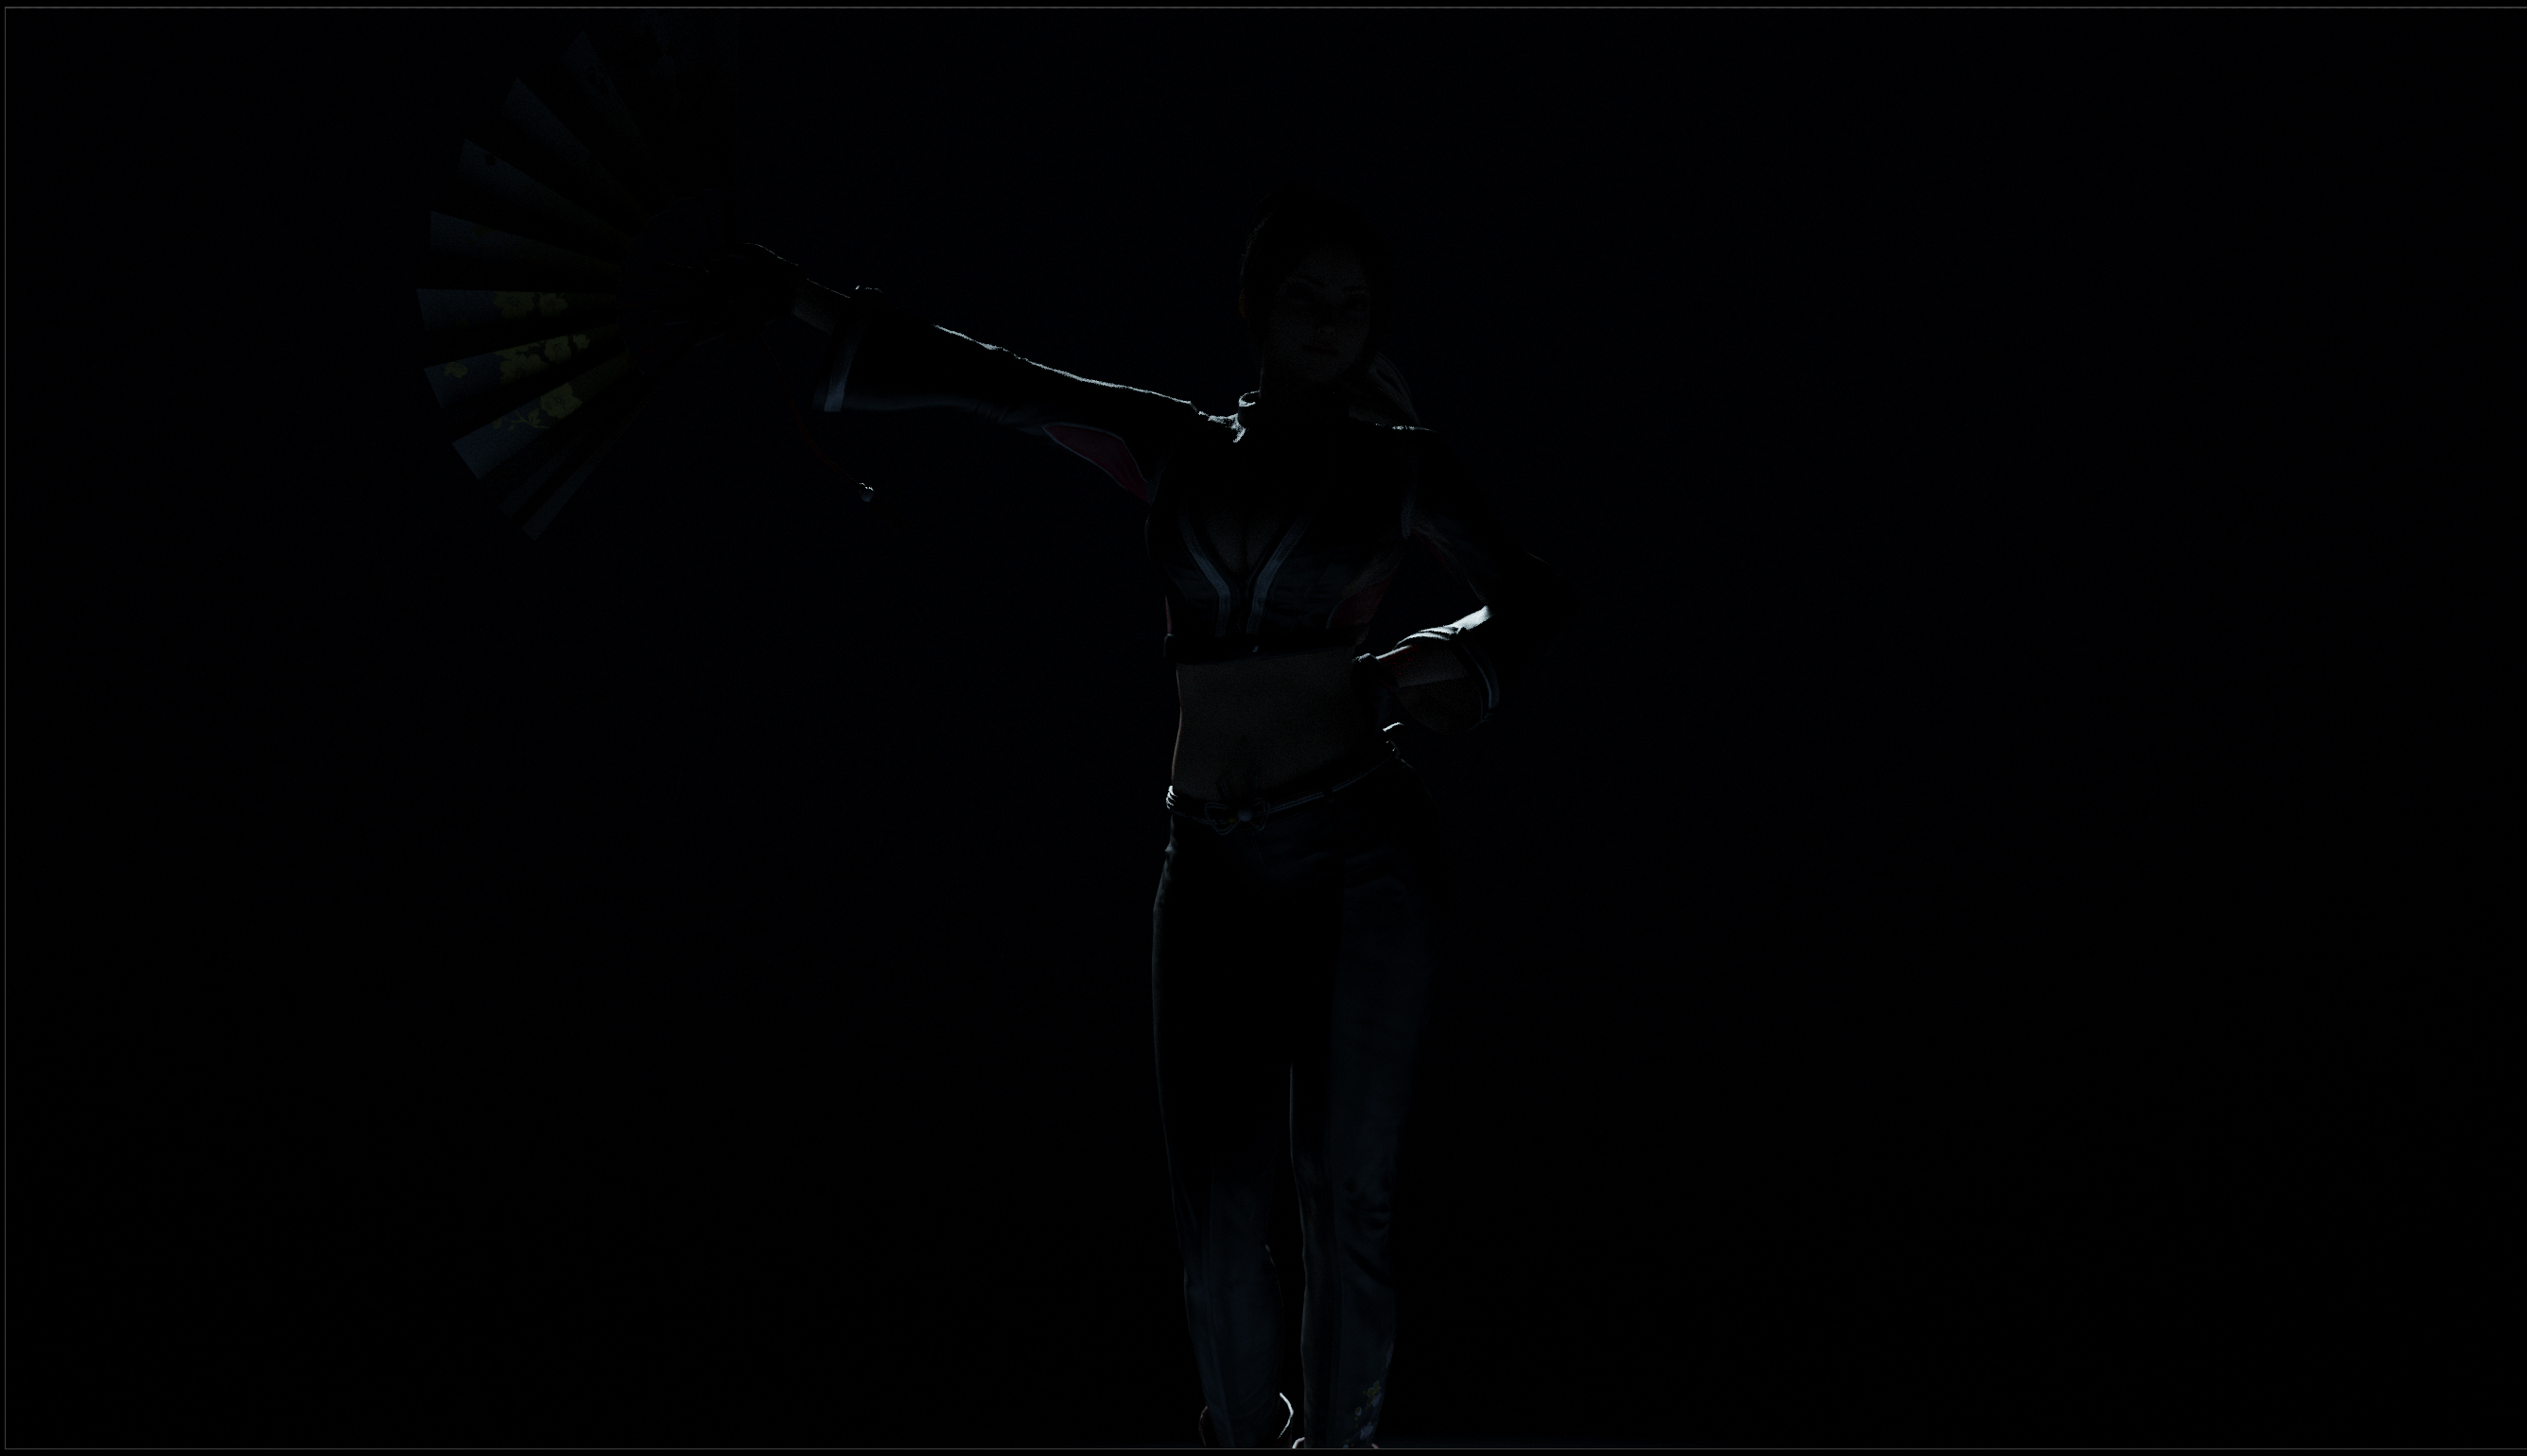
This light shines a strong light from behind the model to emphasize outlines.
It is often placed on the opposite side of the camera.
Here, the main light is white, so a light blue light is used.
Together, these three lights illuminate the model.
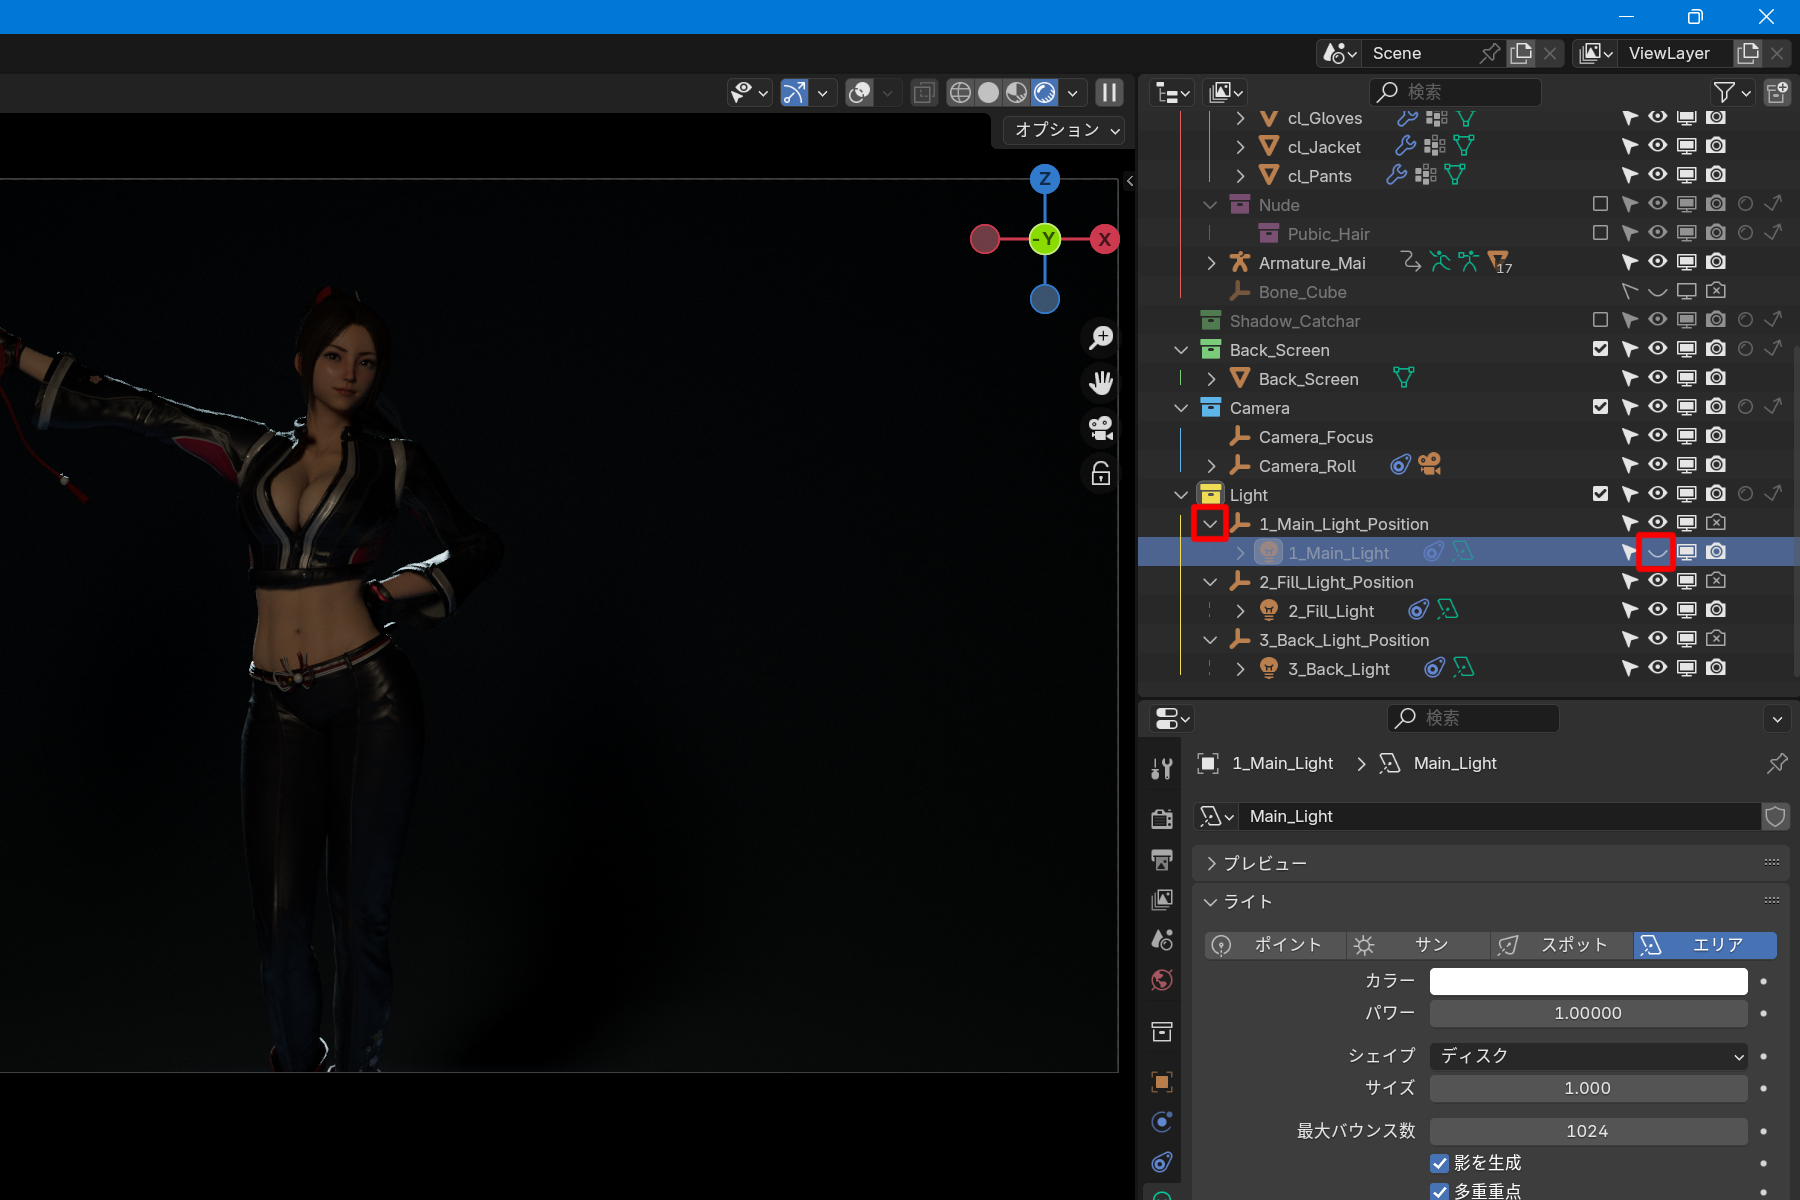
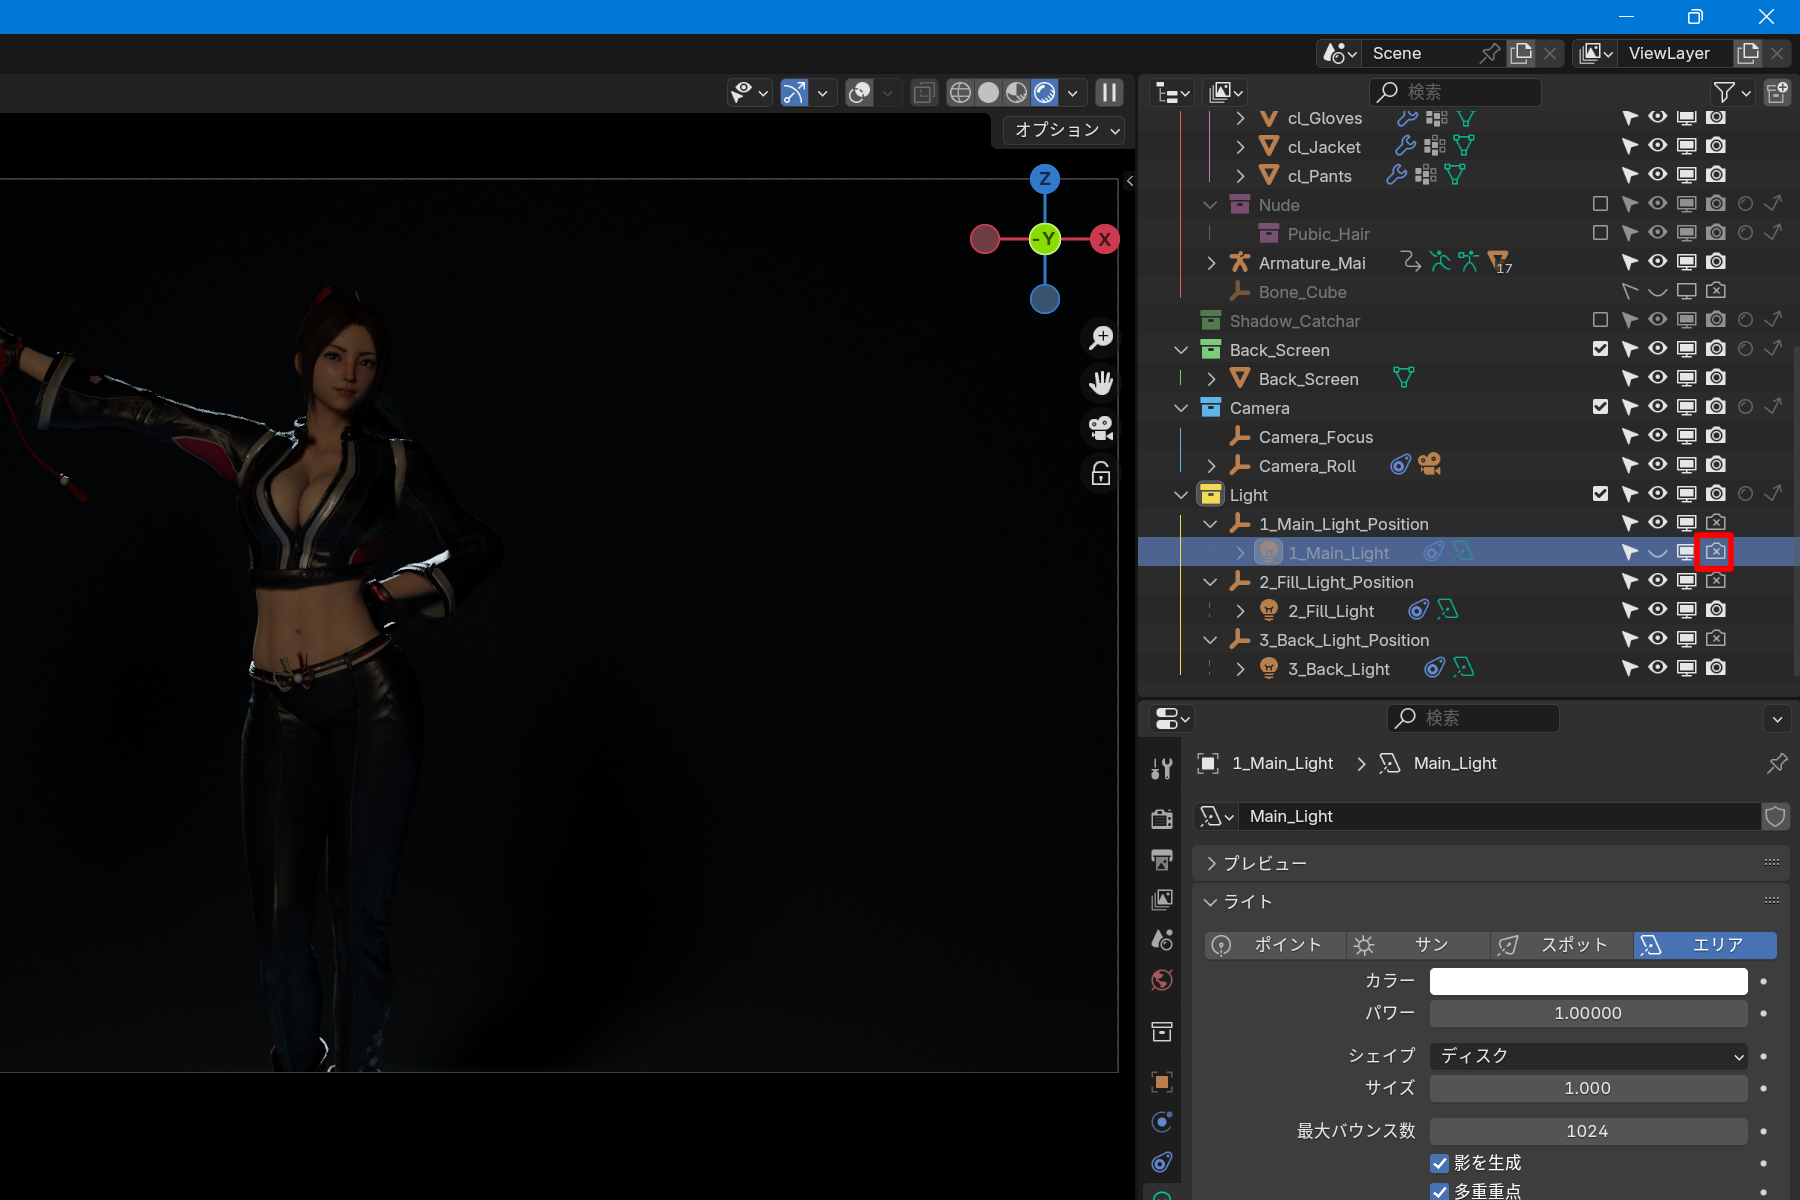
Hiding and showing lights is done in the Outliner.
In the outliner, click the “>” to the left of “1_Main_Light_Position” to make “1_Main_Light” appear below.
Click the eye symbol to the right of “1_Main_Light” to hide it.
Click again to show it.
Click “>” on the left of “1_Main_Light_Position” > 1_Main_Light > eye symbol off
If you turn off the eye symbol, it will be hidden in the 3D view, but will be visible when rendering.
If you want them to remain hidden when rendering, click on the camera symbol on the right to turn them off.
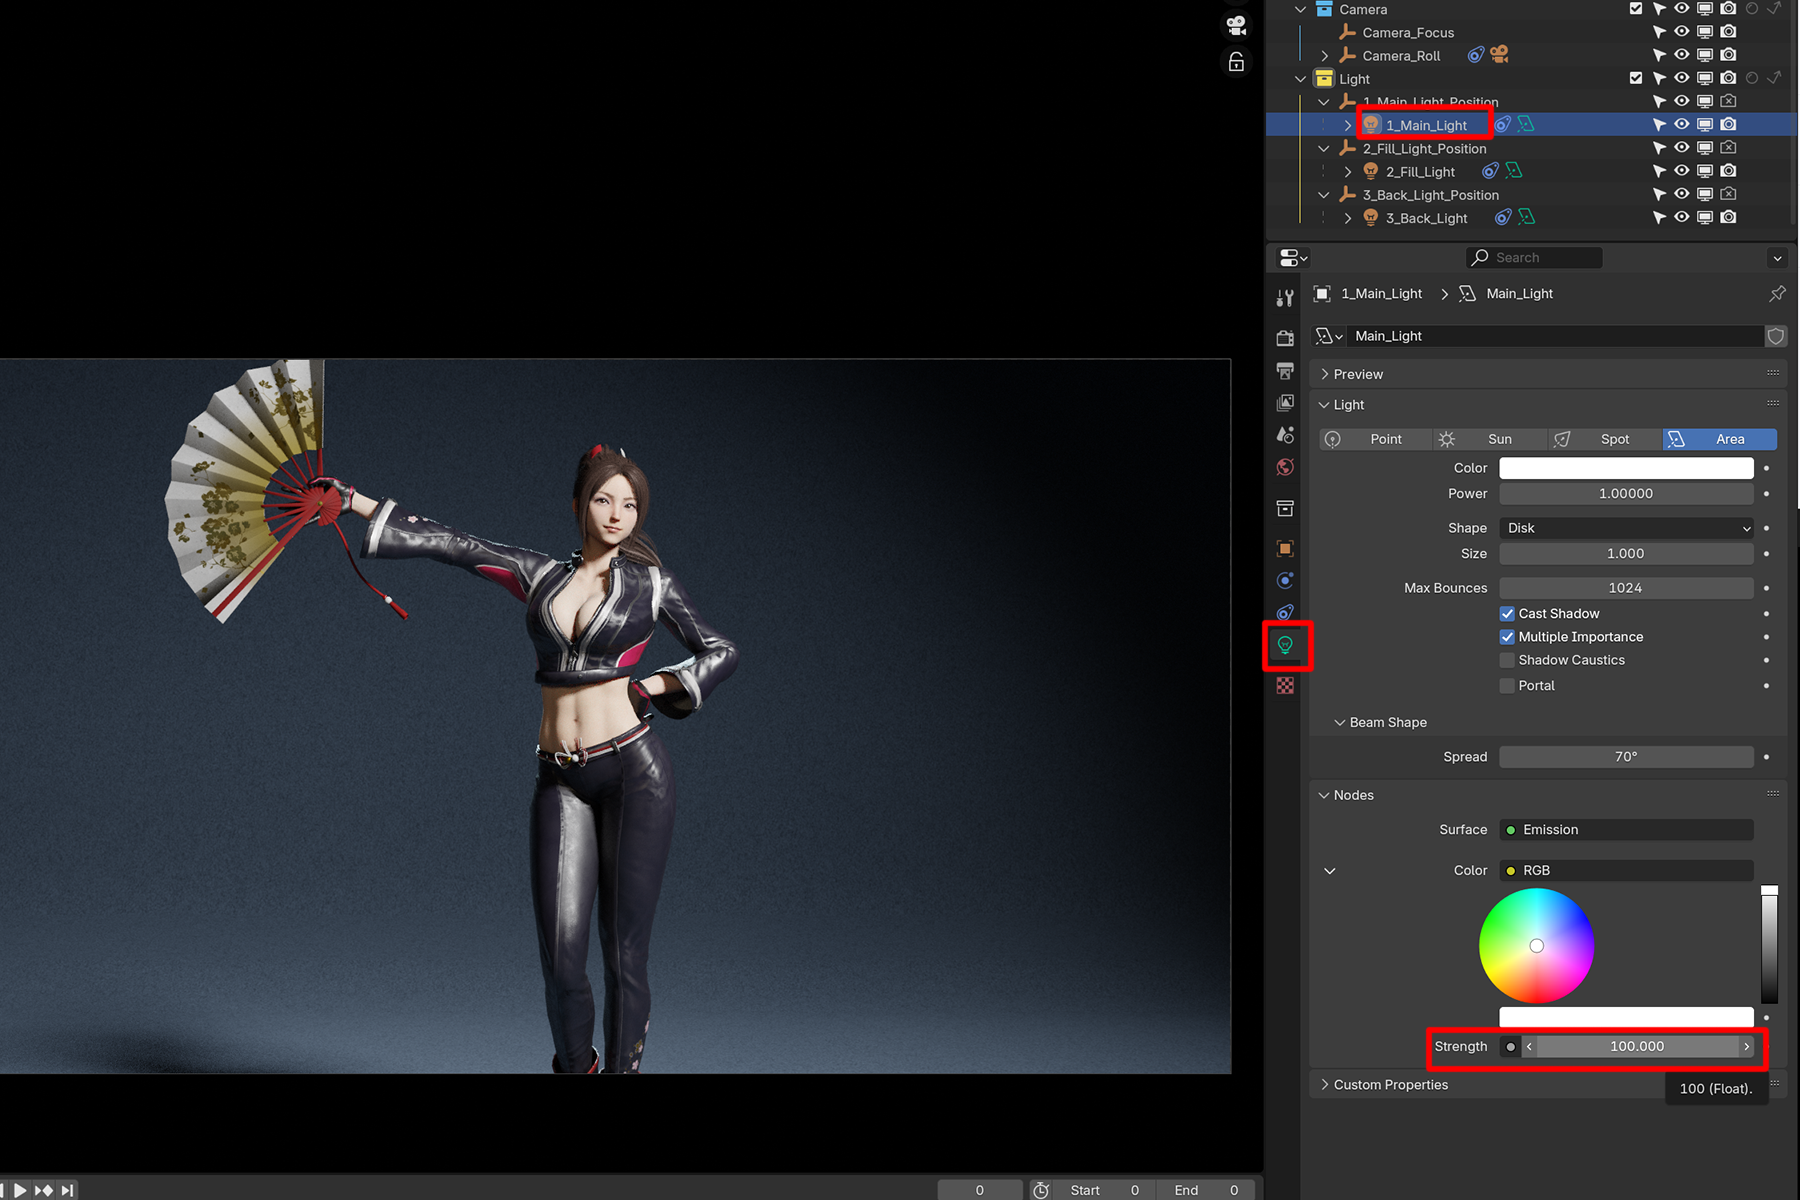
Changing the strength and color of the light is done in the Properties window.
Select “1_Main_Light” in the outliner.
Click on the light bulb symbol in the Properties window.
You can adjust the intensity of the light in the Strength section under Nodes.
Select “1_Main_Light” > Bulb symbol > Node > Strength
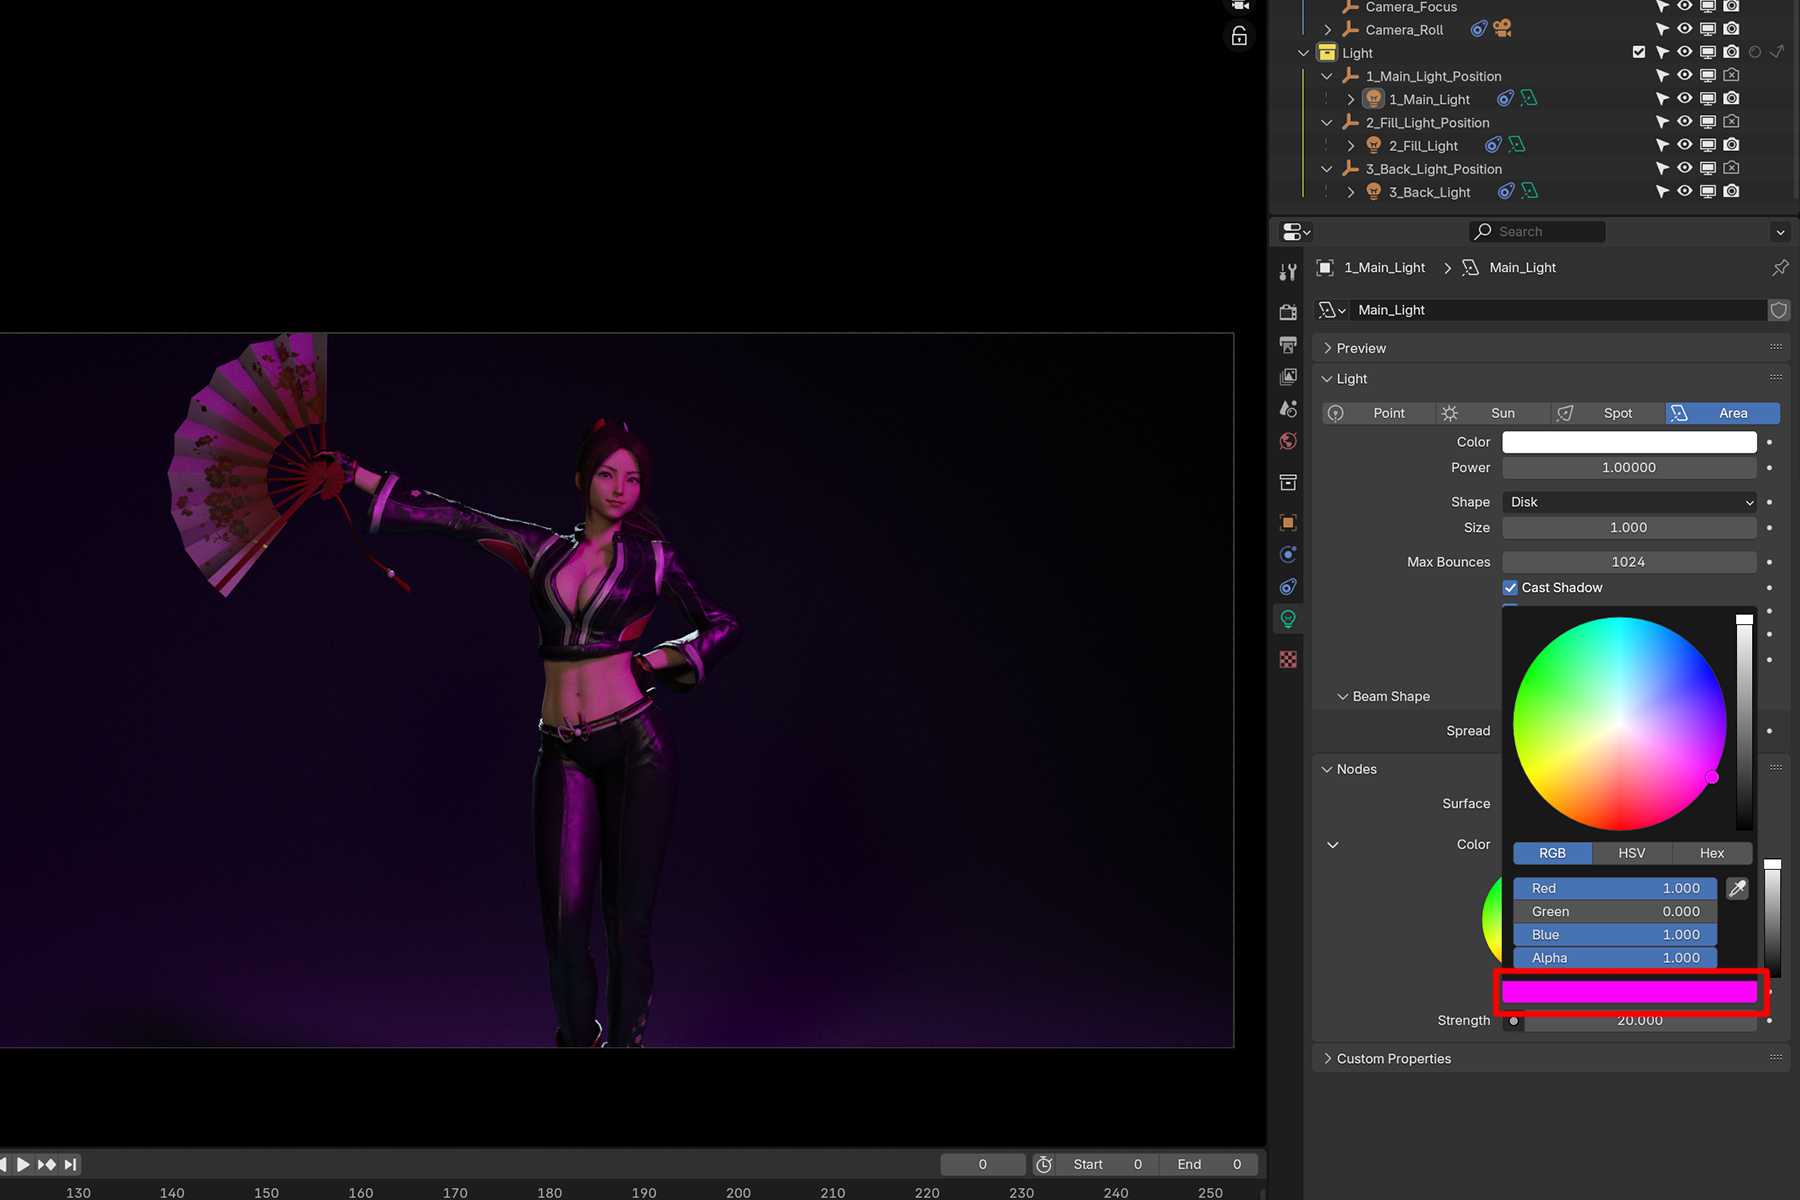
To change the color, use the Color in the upper item.
To fine-tune, click on the colored bar to adjust.
Node > Color > colored bar
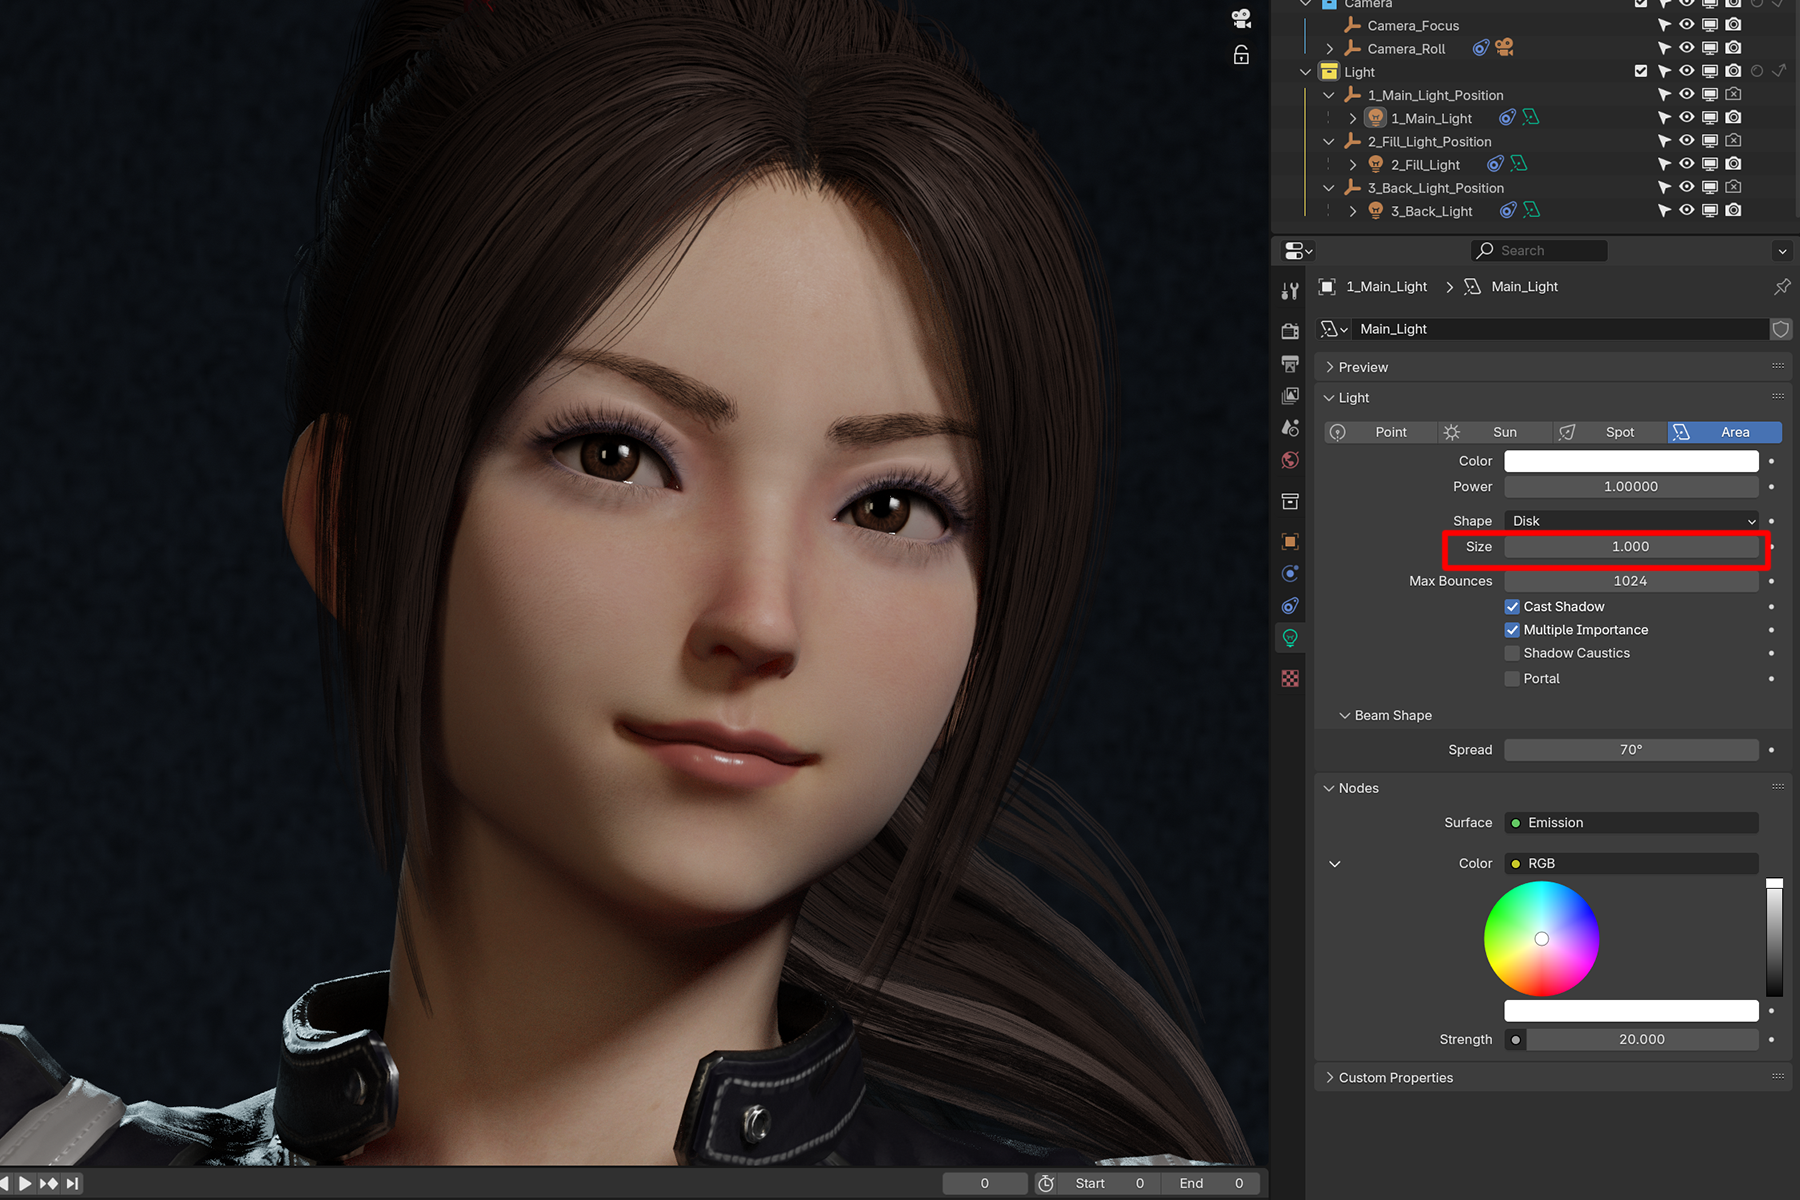
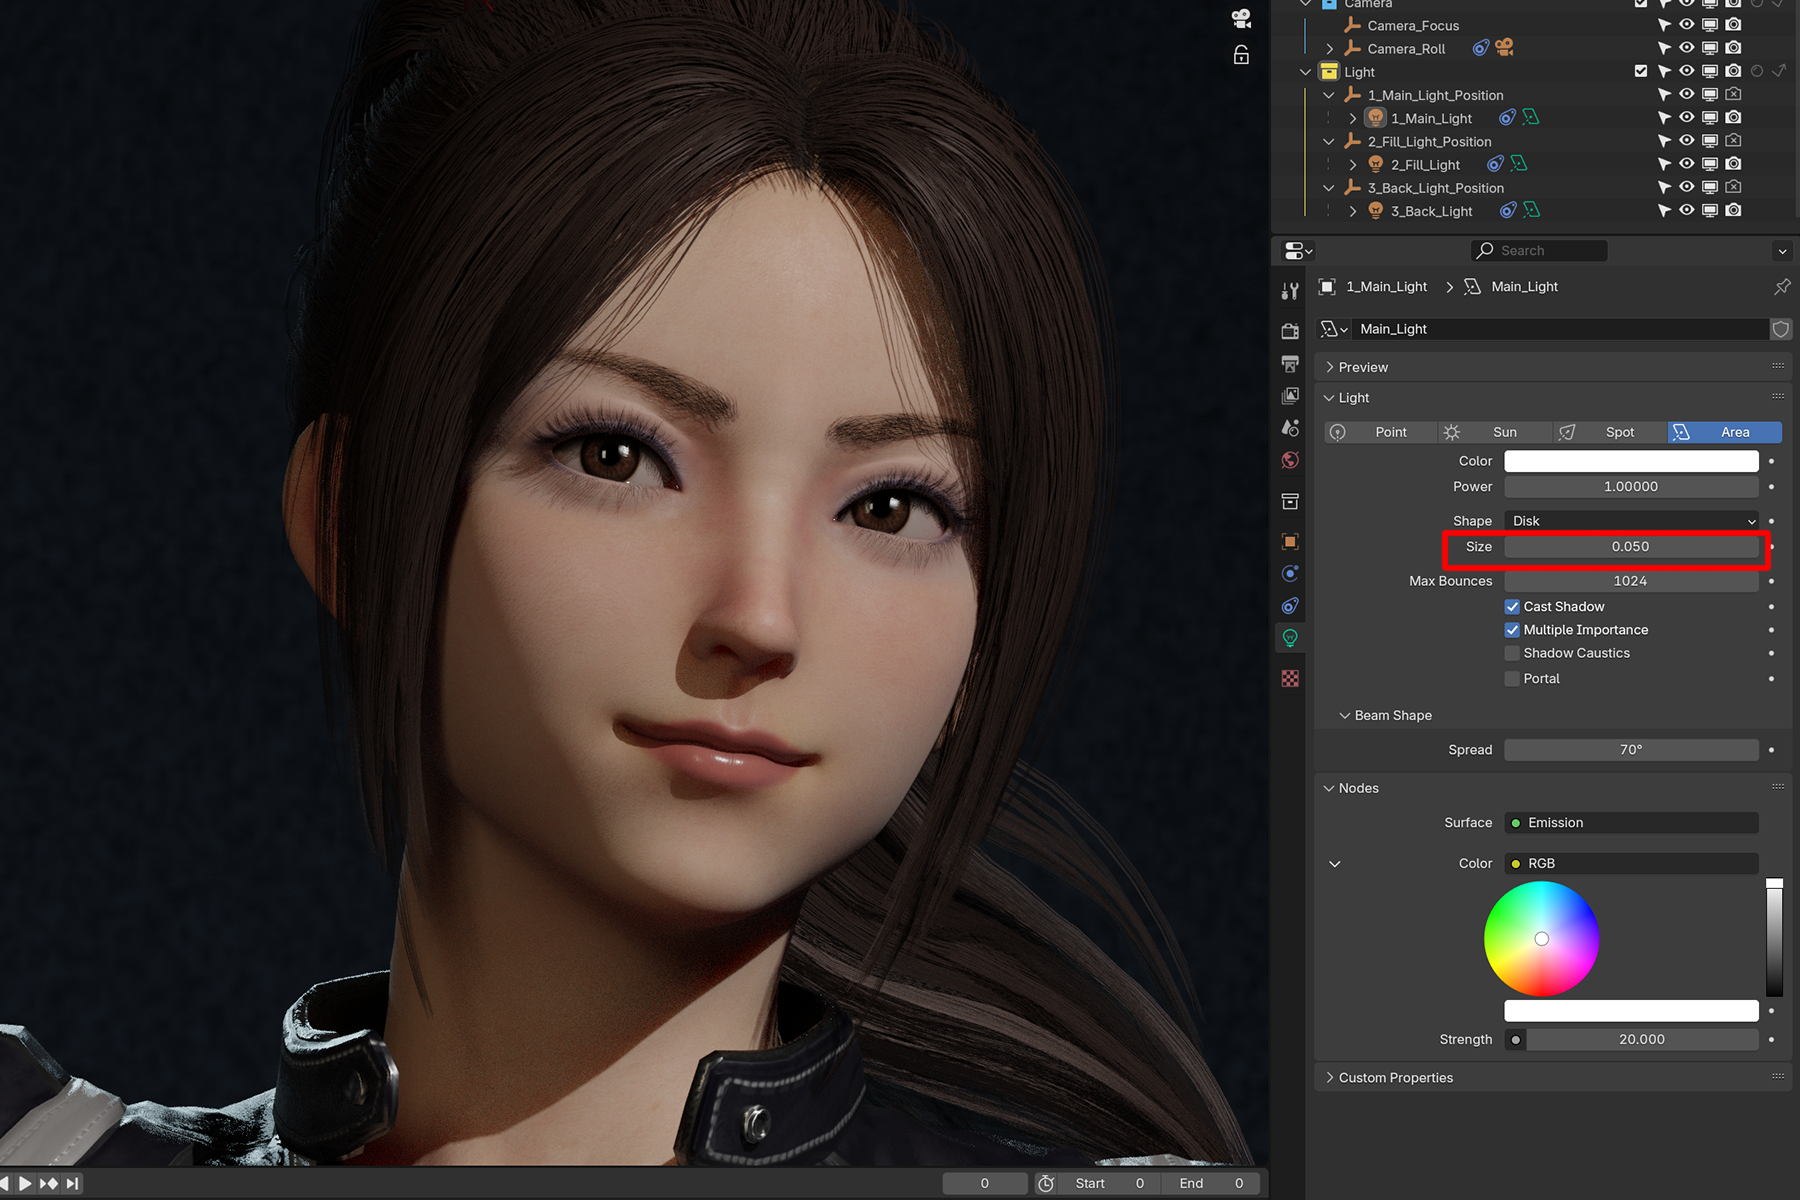
To sharpen or blur shadows, change the size of the Main light.
Open the Properties window of 1_Main_Light.
Adjust the size of the light by changing the Size of the Light item.
If you decrease the size, the shadow will be sharpened; if you increase the size, the shadow will be blurred.
Light > Size
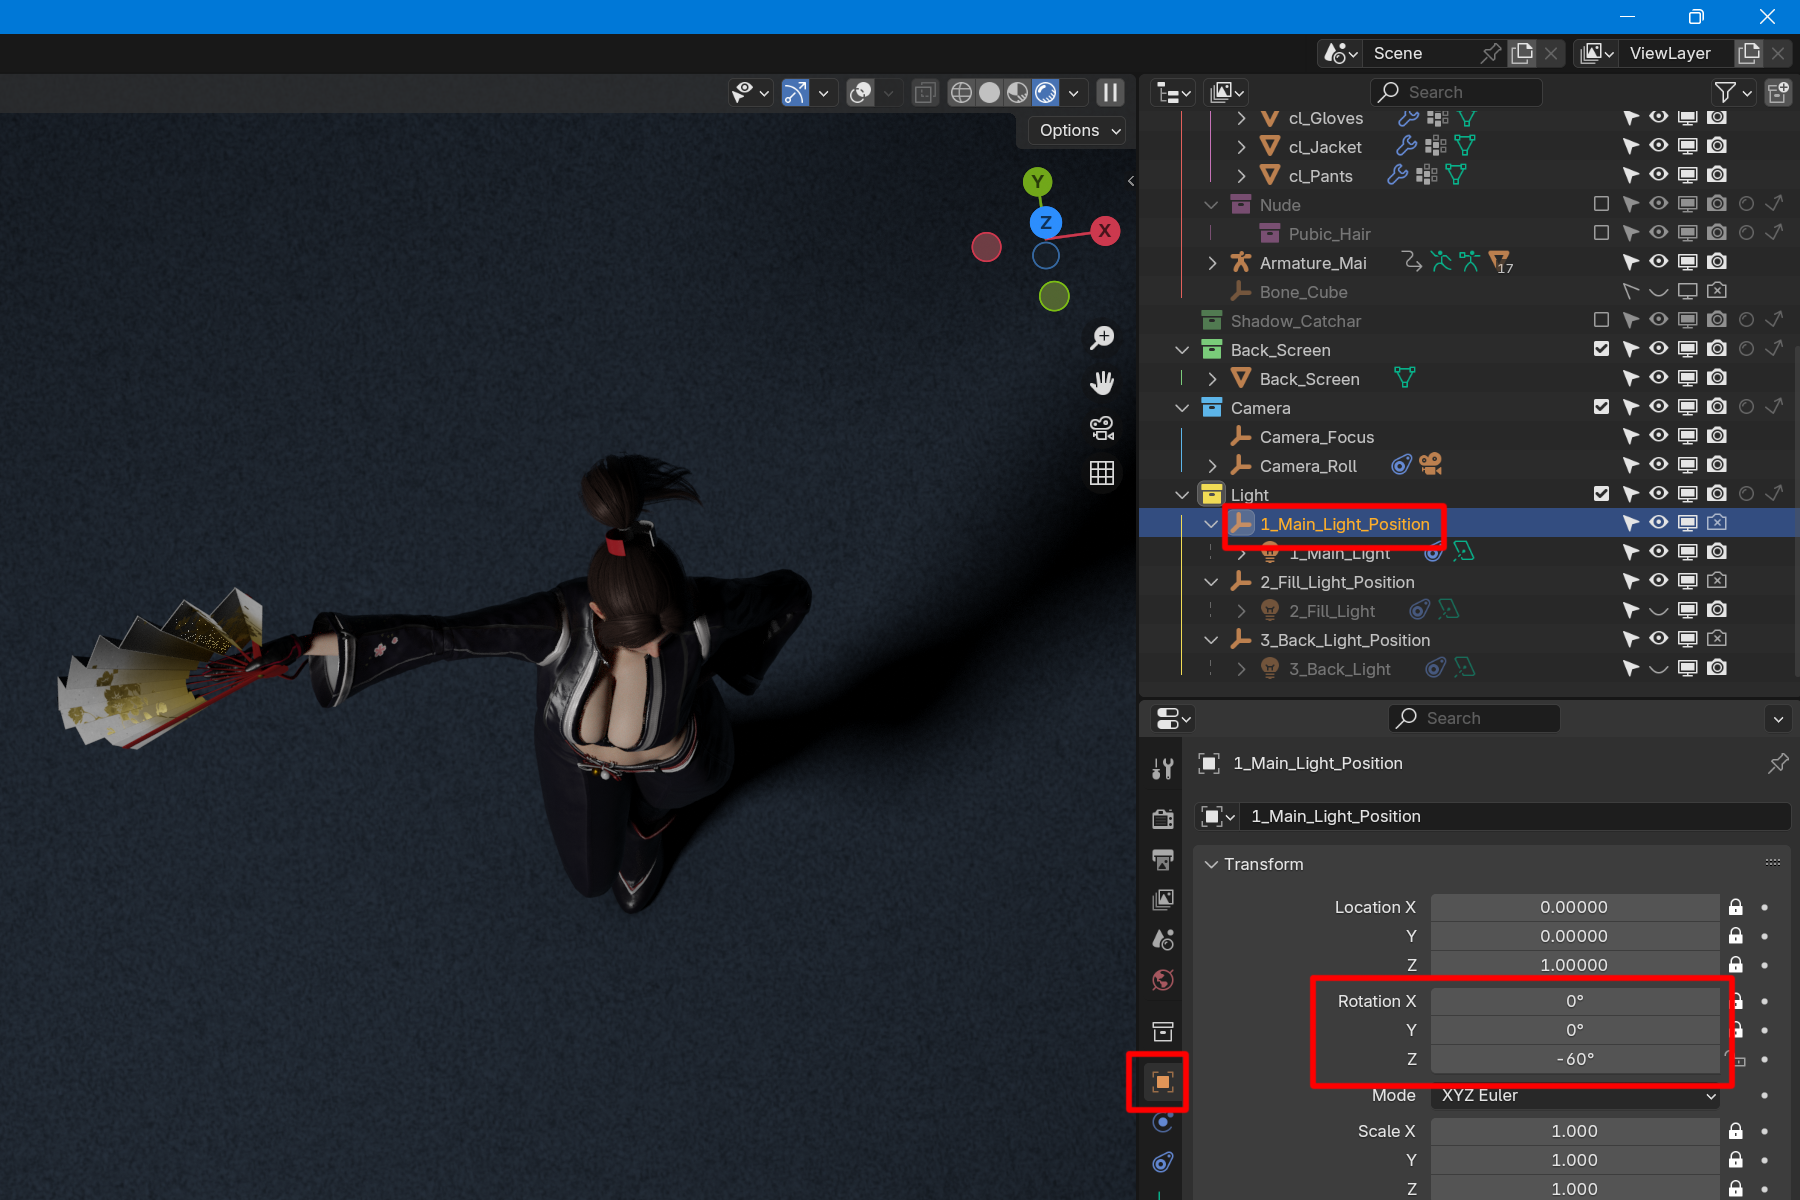
Lights are always set to shine toward the model.
Here we will rotate the main light to change the direction in which it shines.
Select “1_Main_Light_Position” from the Outliner.
Next, change the Rotation Z value in the Transform window of the Properties window.
The light will start to rotate around the model and the direction of the light will change.
Select “1_Main_Light_Position” > Transform > Rotation Z
This section explains how to bring the light closer to the model or shine it from above or below.
In this example, we will use the main light.
Select “1_Main_Light” from the Outliner.
Change the Y and Z values of Location from the Transform item to move the light.
Changing the Y value will move the light closer to or away from the model.
Changing the Z value will move the light up or down.
Select 1_Main_Light > Transform > Location YZ
Next, rendering is explained.
This section describes the rendering method. The file “Shiranui_v1_250308” is used for the explanation. Save Save the file before starting rendering. Rendering is very demanding on your computer and may cause errors or Blender to crash. Click File on the top bar and choose Save or Save As. Save t...


